

Is it possible to create a timeline using only Joomla core? You probably already know the answer: yes, with a little override and a few lines of CSS ;-). This article explains how to do it using the Articles Module in Joomla. See it in action here: Joomla Milestones 2005-2025.
What do you need?
- A category, e.g. Our Story
- Articles for the milestones
For the example company I have created a category with five articles. The title of the articles is the year followed by the milestone, e.g. 2015 - Company Founded.
Module override
I will create the timeline using an Articles Module. To make it really simple, I have created an alternative layout with very little code. As described in earlier articles: an alternative layout is a copy of a Joomla core file (in this case a copy from the articles module files) with another name (timeline.php instead of default.php). This copy lives on your template and allows you to make modifications that are specific for the module using the new layout without changing all other modules.
To create an override / alternative layout you can create a file on your computer and transfer it to your website using FTP, or create it directly in the backend.
The Articles Module consists of three files: default.php, default_titles.php and default_items.php. For the timeline I added only one file: timeline.php (the file is stored under templates\cassiopeia\html\mod_articles):
<?php
/**
* @package Joomla.Site
* @subpackage mod_articles
*
* @copyright (C) 2024 Open Source Matters, Inc. <https://www.joomla.org>
* @license GNU General Public License version 2 or later; see LICENSE.txt
*/
defined('_JEXEC') or die;
use Joomla\CMS\Layout\LayoutHelper;
if (!$list)
{
return;
}
$items = $list;
?>
<div id="timeline">
<?php foreach ($items as $item) : ?>
<div class="timeline-item">
<div class="timeline-icon"></div>
<div class="timeline-content">
<h2><?php echo $item->title; ?></h2>
<?php echo $item->event->afterDisplayTitle; ?>
<?php if (in_array($params->get('img_intro_full'), ['intro', 'full']) && !empty($item->imageSrc)) : ?>
<?php echo LayoutHelper::render('joomla.content.' . $params->get('img_intro_full') . '_image', $item); ?>
<?php endif; ?>
<?php echo $item->introtext; ?>
<?php echo $item->event->afterDisplayContent; ?>
</div>
</div>
<?php endforeach; ?>
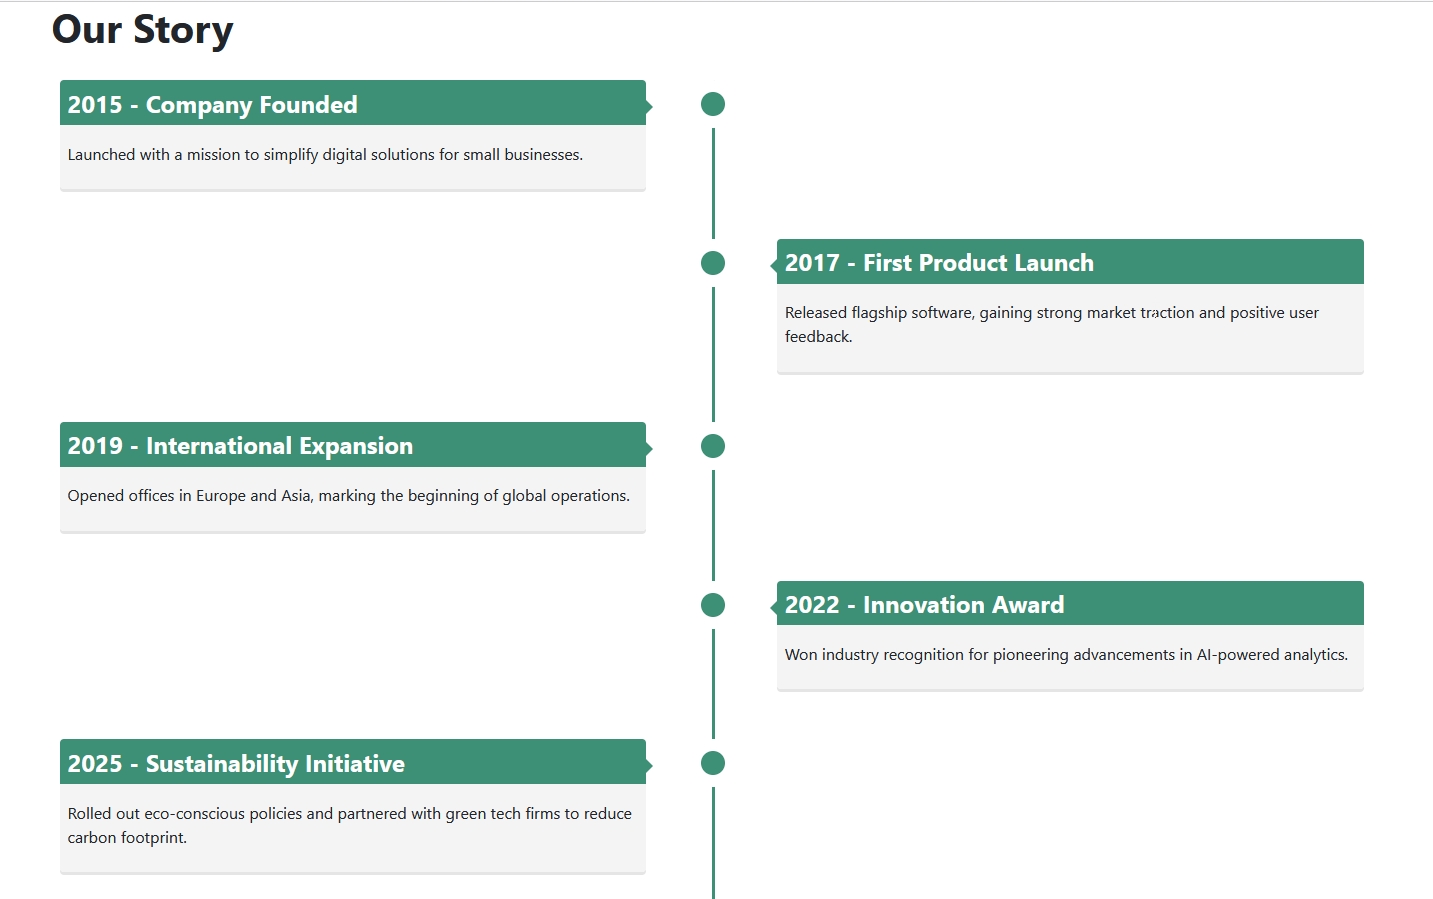
</div>For the timeline we will display the title, the introtext and an image.
We create the module and set the parameters correctly: select the category and how many articles to display, set Introtext to Show and Introtext Limit to 0. You can decide if you want to display the Intro Image, the Full Text Image or no image at all. In the Advanced section you select the layout “timeline”. You can display the module in a template position or load it within an article that is connected with a menu item.
CSS
Without CSS the module doesn’t look the way we want it to look, so we will add some lines of CSS in our user.css (if you are not using Cassiopeia you may need to place the CSS in another file).
/* Timeline */
#timeline {
  position: relative;
  width: 100%;
  padding-inline: .5rem;
  margin: 30px auto;
}
#timeline:before {
  position: absolute;
  top: 0;
  left: 50%;
  width: 3px;
  height: 100%;
  content: "";
  background-color: #3D8F75;
}
#timeline:after {
  display: table;
  width: 100%;
  clear: both;
  content: "";
}
.timeline-item:after,
.timeline-item:before {
  display: block;
  width: 100%;
  clear: both;
  content: "";
}
.timeline-item {
  position: relative;
  margin-bottom: 50px;
}
.timeline-item .timeline-icon {
  position: absolute;
  top: 0;
  left: 50%;
  width: 26px;
  height: 26px;
  margin-left: -23px;
  overflow: hidden;
  background-color: #3D8F75;
  border-radius: 50%;
  border: 12px solid #fff;
  padding: 12px;
}
.timeline-item .timeline-content {
  width: 45%;
  padding: .5rem;
  background: #f4f4f4;
  border-radius: var(--border-radius);
  box-shadow: 0 3px 0 rgba(0, 0, 0, 0.1);
}
.timeline-item .timeline-content h2 {
  padding: .5rem;
  margin: -.5rem -.5rem .5rem -.5rem;
  font-size: 1.5rem;
  color: #fff;
  background-color: #3D8F75;
  border-radius: var(--border-radius) var(--border-radius) 0 0;
}
.timeline-item .timeline-content p {
  margin-top: 1rem;
}
.timeline-item .timeline-content:before {
  position: absolute;
  top: 20px;
  left: 45%;
  width: 0;
  height: 0;
  content: "";
  border-top: 7px solid transparent;
  border-bottom: 7px solid transparent;
  border-left: 7px solid #3D8F75;
}
.timeline-item:nth-child(even) .timeline-content {
  float: right;
}
.timeline-item:nth-child(even) .timeline-content:before {
  right: 45%;
  left: inherit;
  content: "";
  border-right: 7px solid #3D8F75;
  border-left: 0;
}

@media (max-width: 768px) {
  #timeline {
    width: 90%;
    padding: 0;
    margin: 30px;
  }
  #timeline:before {
    left: 0;
  }
  .timeline-item .timeline-content {
    float: right;
    width: 90%;
  }
  .timeline-item .timeline-content:before,
  .timeline-item:nth-child(even) .timeline-content:before {
    left: 10%;
    margin-left: -6px;
    border-right: 7px solid #3D8F75;
    border-left: 0;
  }
  .timeline-item .timeline-icon {
    left: 0;
  }
}
The result is a fancy timeline with milestones alternating left and right of the middle line:
If you selected to display an image:

Another version of the timeline
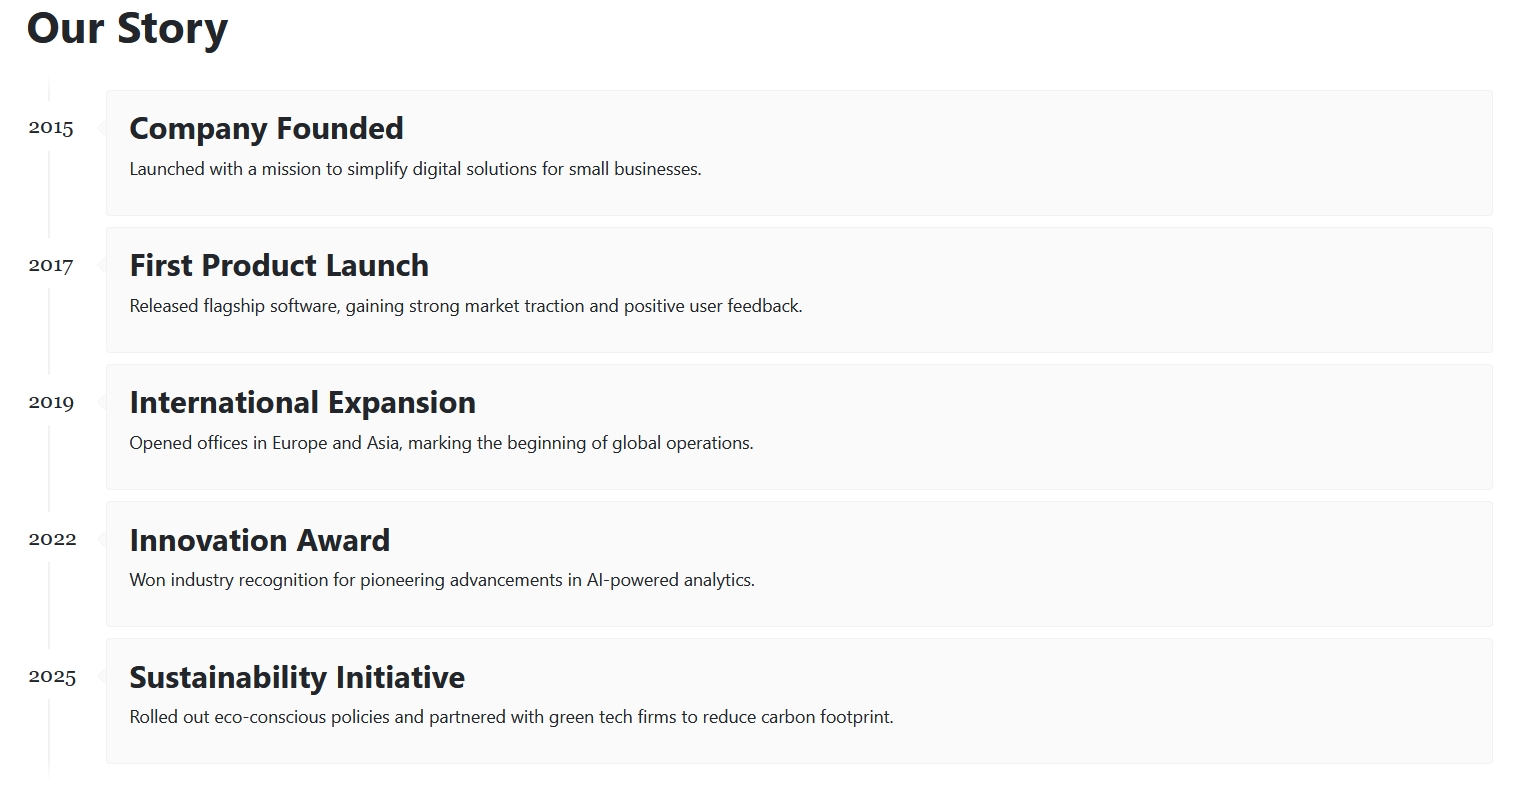
Years ago I created a very simple timeline for a customer. The title of the articles is only the year and it is used as marker in the timeline:
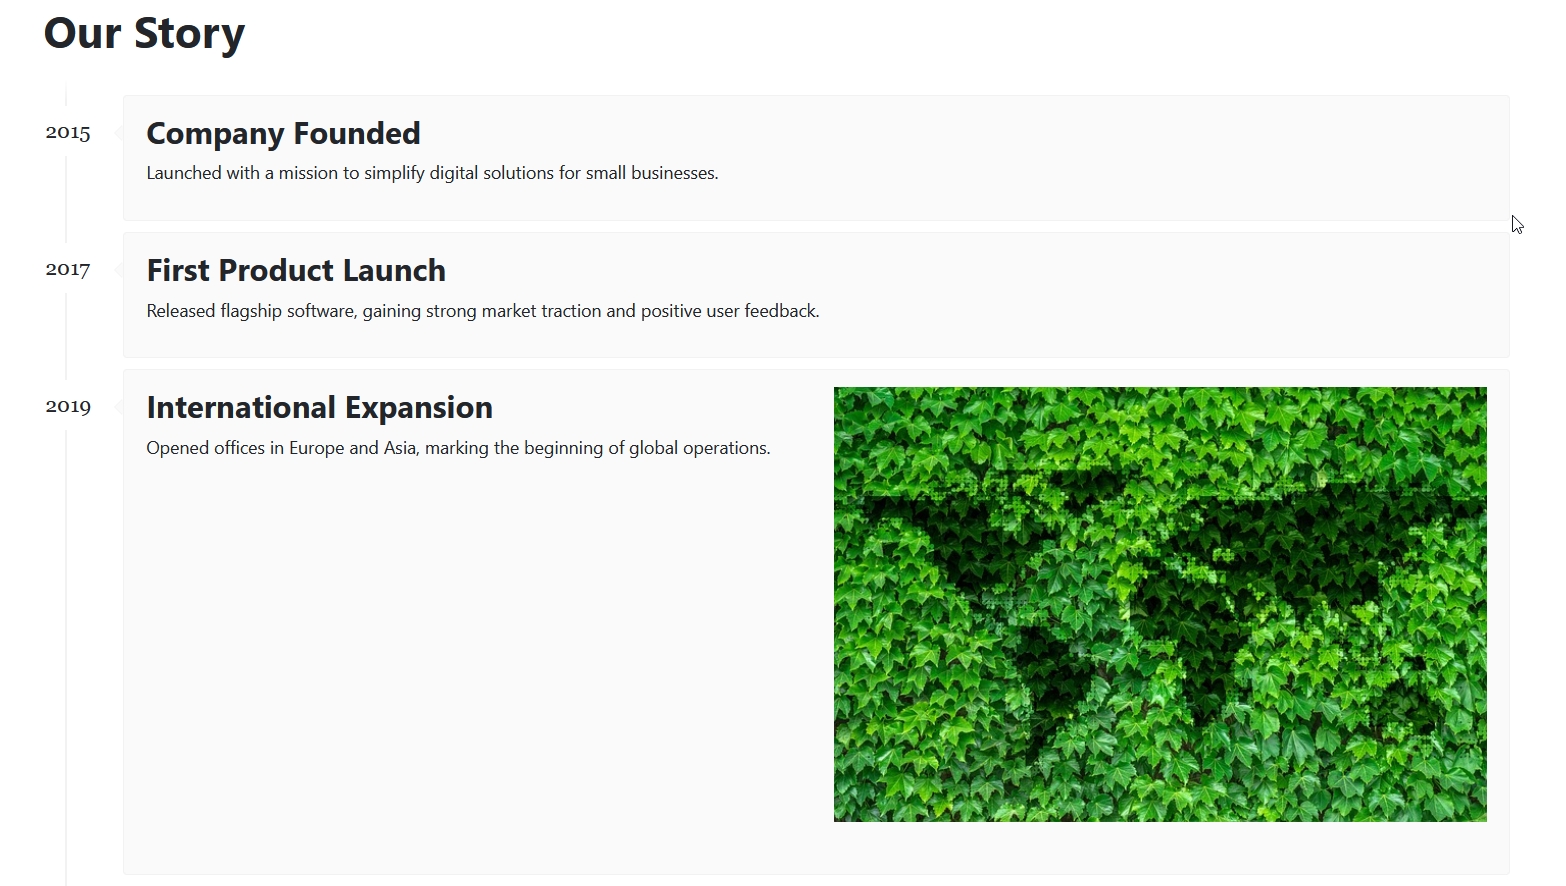
With images:
The code for the timeline is a little bit different:
<?php

/**
 * @package     Joomla.Site
 * @subpackage  mod_articles
 *
 * @copyright   (C) 2024 Open Source Matters, Inc. <https://www.joomla.org>
 * @license     GNU General Public License version 2 or later; see LICENSE.txt
 */

defined('_JEXEC') or die;

use Joomla\CMS\Layout\LayoutHelper;

if (!$list)
{
    return;
}

$items = $list;
?>

<div class="timeline">
    <?php foreach ($items as $item) : ?>
        <div class="timeline-post">
            <div class="timeline-time">
                <?php echo $item->title; ?>
            </div>
            <div class="timeline-content">
                <div class="entry-content">
                    <?php echo $item->introtext; ?>
                </div>
                <?php if (in_array($params->get('img_intro_full'), ['intro', 'full']) && !empty($item->imageSrc)) : ?>
                    <?php echo LayoutHelper::render('joomla.content.' . $params->get('img_intro_full') . '_image', $item); ?>
                <?php endif; ?>
            </div>
        </div>
    <?php endforeach; ?>
</div>
And the CSS:
/* Timeline Simple */
.timeline {
  border-left: 2px solid #f2f2f2;
  padding: 15px 0 5px;
  margin: 20px 0 20px 20px;
  position: relative;
}
.timeline::before,
.timeline::after {
  content: "";
  display: block;
  height: 20px;
  width: 2px;
  position: absolute;
  left: -2px;
}
.timeline::before {
  background: linear-gradient(to bottom, #ffffff 0%, #f2f2f2 100%);
  top: 0;
}
.timeline::after {
  background: linear-gradient(to top, #ffffff 0%, #f2f2f2 100%);
  bottom: 0;
}
.timeline-post {
  border: 0 none;
  padding: 0 0 10px 70px;
  margin-left: -20px;
  position: relative;
}
.timeline-post .timeline-time {
  background: #fff;
  font-family: Georgia, 'Times New Roman', Times, serif;
  font-size: 1.2rem;
  padding-block: .5rem;
  text-align: center;
  position: absolute;
  top: 10px;
  left: 0px;
}
.timeline-post .timeline-content {
  background: #fafafa;
  border: 1px solid #f2f2f2;
  border-radius: 3px;
  padding: 15px 20px;
  position: relative;
  display: grid;
  grid-template-columns: repeat(auto-fit, minmax(300px,1fr));
  gap: 2rem;
}
.timeline-post .timeline-content::before,
.timeline-post .timeline-content::after {
  border: 8px solid transparent;
  content: "";
  display: block;
  position: absolute;
  top: 26px;
}
.timeline-post .timeline-content::before {
  border-right-color: #f2f2f2;
  left: -16px;
}
.timeline-post .timeline-content::after {
  border-right-color: #fafafa;
  left: -15px;
}
The timelines I showed in this article can be used as a basis for an override of the category blog layout. You can give it a try.
There are a lot of inspiring timelines out there and most of them can be easily created in Joomla without the need of an extension. Have fun creating your own timeline!

Comments