
In the April issue from the Magazine we had an article about putting blocks of content on a website using modules. In this article we will focus on the module parameters and how to use them to modify the layout from modules.
Module parameters
Each of the 24 different modules delivered with the core in Joomla 4 has its own set of parameters. Explaining all of them would go beyond the scope of this article. But all modules have also some sets of parameters in common:
- Publishing parameters in the tab “Module”
- Menu assignment
- Advanced
- Permissions
Publishing
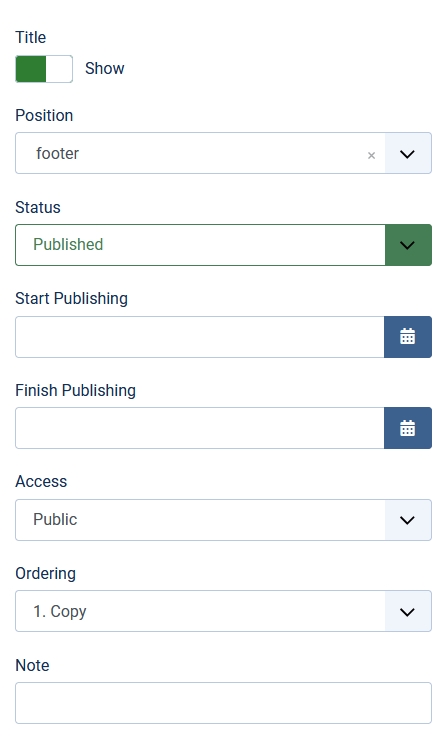
Title: hide / show
Position: select the template position in which you want to display the medule
Status: published, unpublished, trashed
Start Publishing and Finish Publishing: you can define a start date, a finish date or both to automate the publishing of modules. For example: you have a special Christmas / New Year banner for your website, but you don’t want to go online during the holidays to publish and unpublish the module, so you can set the start date on December, 24th and the finish date on January, 6th for your module and it will automatically go online for this period of time.
Access: here you can define which user group should be able to see the module. For example you can have a special menu only for registered users. The module will only display if the user is logged in the website.
Ordering: if you have several modules in one position, you can decide in which order they will be placed.
Note: a useful field to write a comment. A funny example from my own experience: I have a customer with a website in Farsi, the backend itself is German, but the titles of the modules are in Farsi. I can’t read them, so I started writing notes in German to be able to find the modules again.
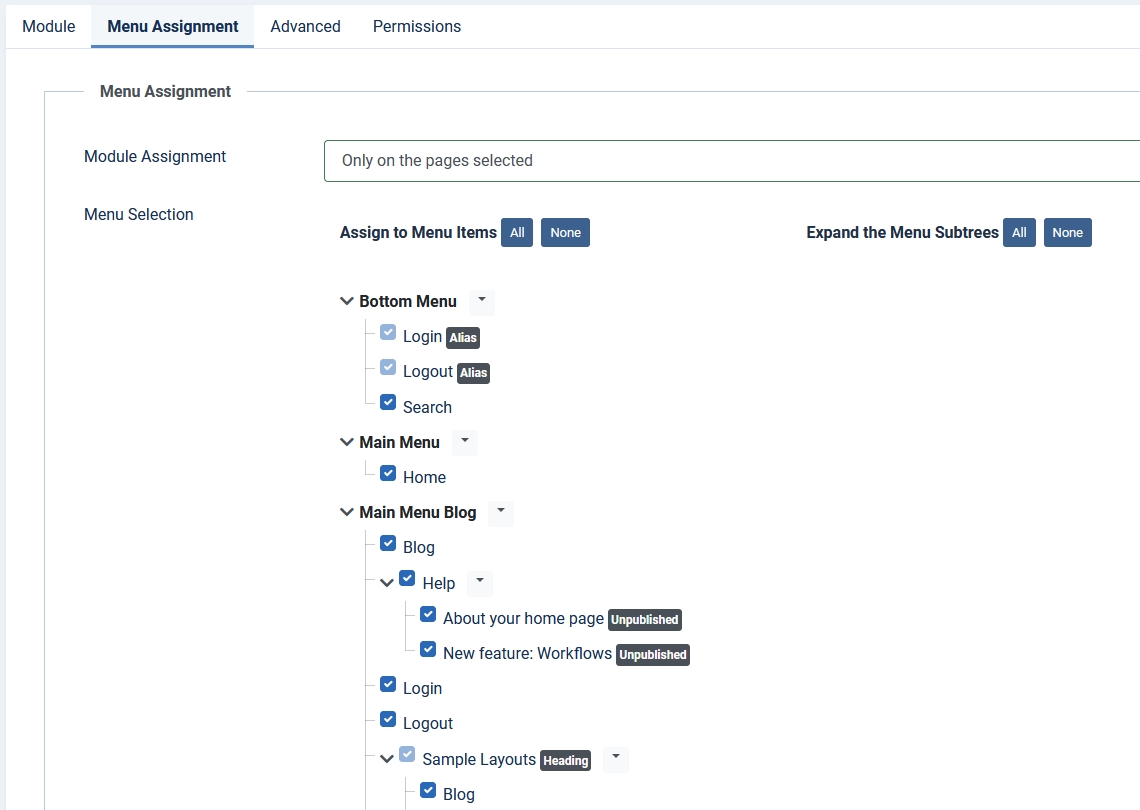
Menu Assignment
In this tab you can define on which pages (menu item) each module should be displayed. You can also decide to show them on all pages.
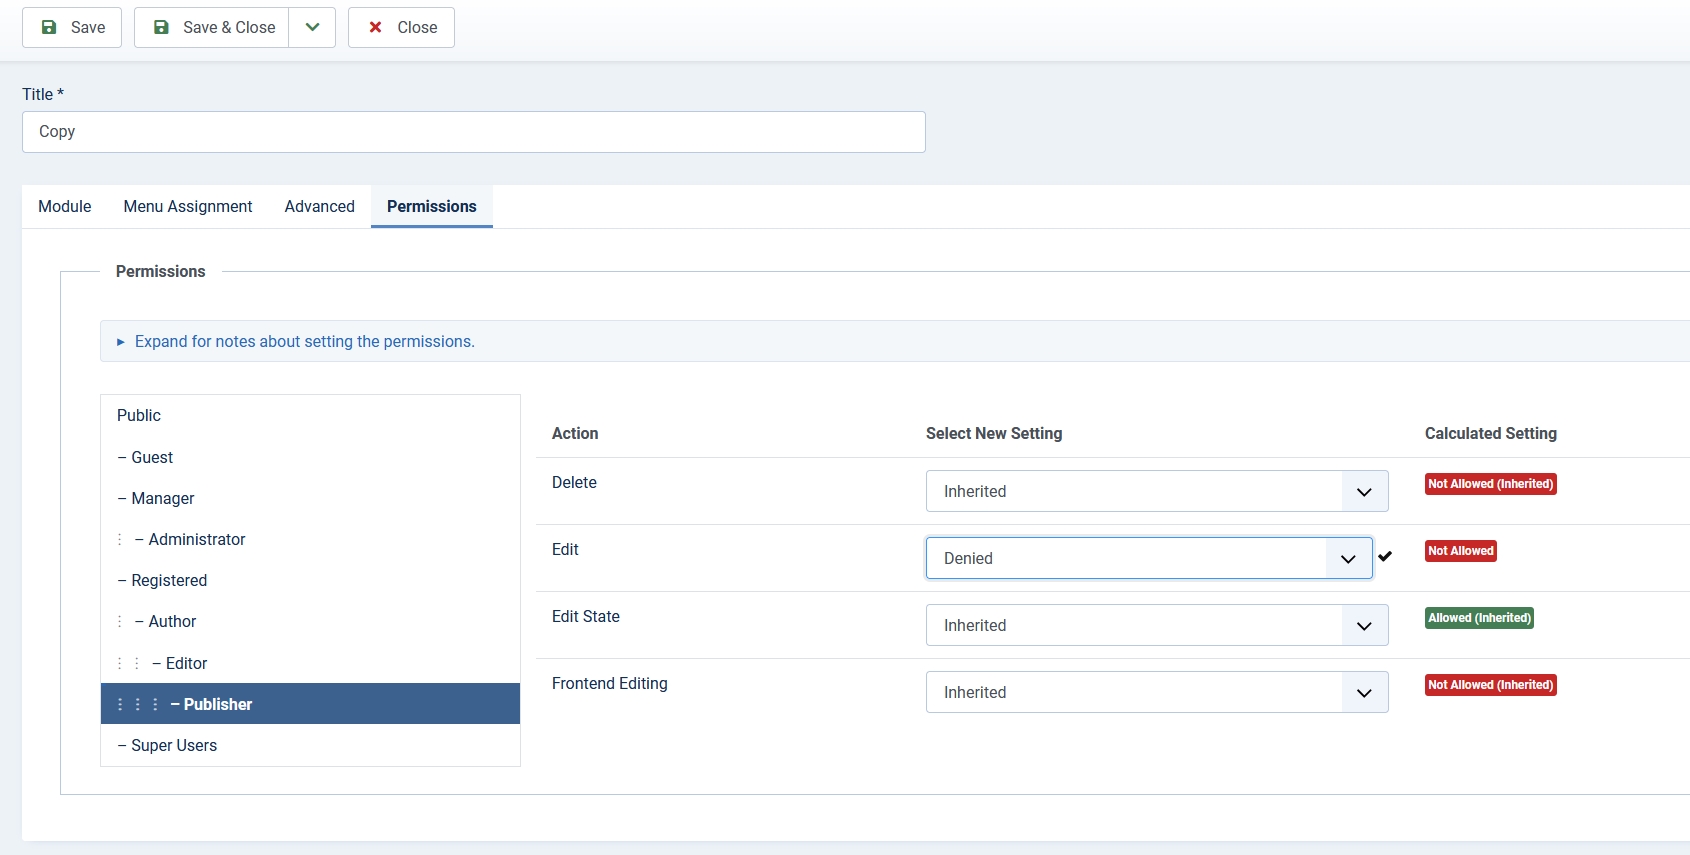
Permissions
If your website is managed by multiple editors, you can use the permissions to restrict the actions on each module depending on the user group. For example you can define that a publisher should not be able to edit a specific module.
Advanced
This tab is a very interesting one with a bunch of parameters that you can use to modify the behavior and appearance of your modules.
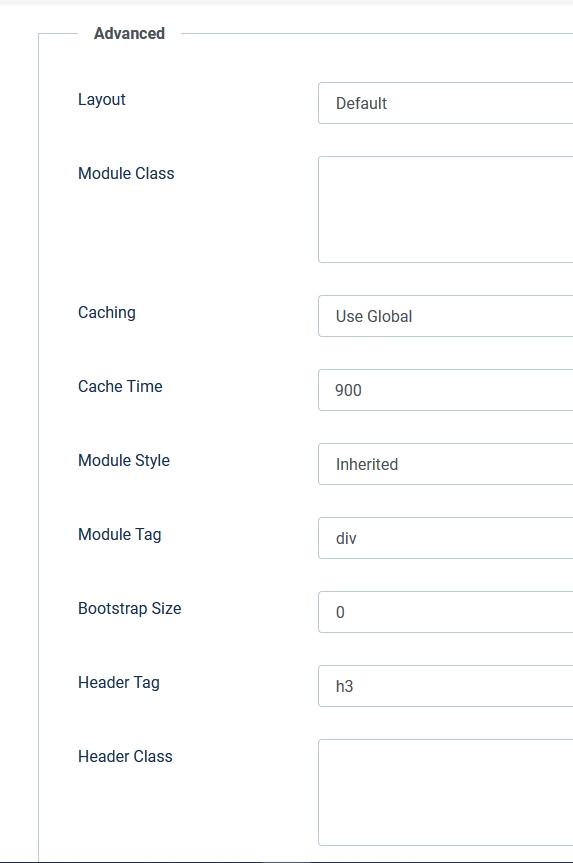
If you are using the Joomla cache you can take single modules out of the caching and / or modify the cache time (fields “Caching” and “Cache Time”).
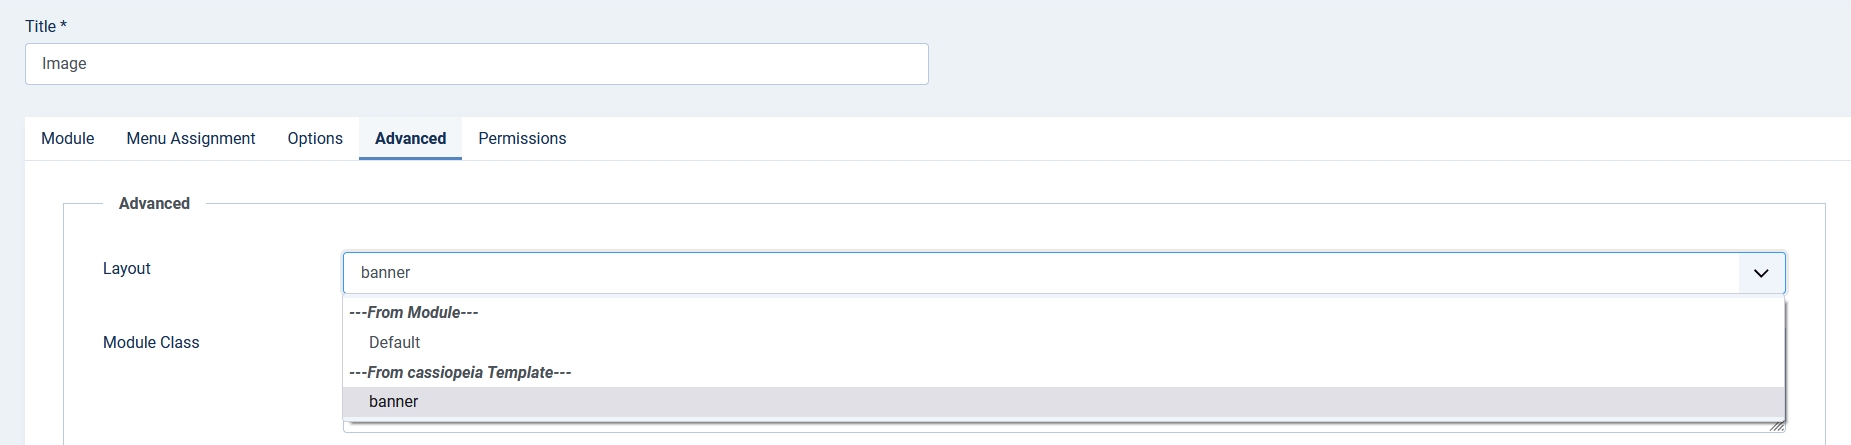
Under the “Layout” field you can select the template for your module. Each core module has a default view, some have multiple options. For example the module “Articles - Newsflash” has a horizontal and a vertical layout to choose from. The “Menu” module has a collapse view (creates a burger menu if you are using a Bootstrap based template). The “Tags - Popular” module has a cloud layout besides the default one.
Templates, like Cassiopeia, can have overrides or alternative layouts for the modules. An override is a modified version of the module’s default view. It overwrites the default layout from core and will be applied to all modules of this type present on the website. An alternative layout is a modified version of the default layout with its own name and can be applied to single modules. For example in Cassiopeia there is an alternative layout for custom modules, it is named “banner” and creates an image with text overlay.

Only a custom module with selected layout “banner” will look like the screenshot above. All other custom modules on your website will look like normal custom modules.
In the field “Module Class” you can add one or more CSS classes to modify the module. This parameter will only work if the module style is not “none”.
“Module Style” is also known as module chrome. It defines the HTML around the module content. Joomla core has four different module styles: html5, none, outline and table.
html5 is the most complete style, it includes the module class and the module title.
none will only display the module content and the html defined in the module layout, for example a list for the module “Articles - Latest”. Module class will not have effect here.
outline is a preview style, it shows the position and style of a published module, it should not be used on live sites.
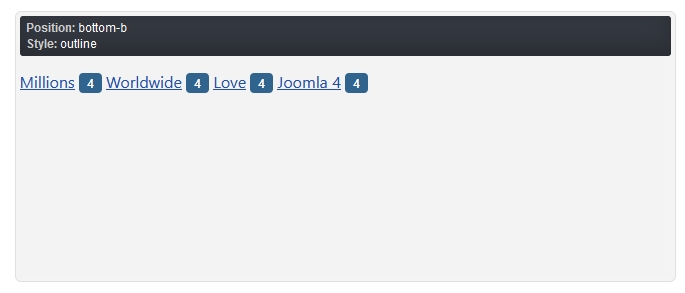
Popular Tags module with “outline” style
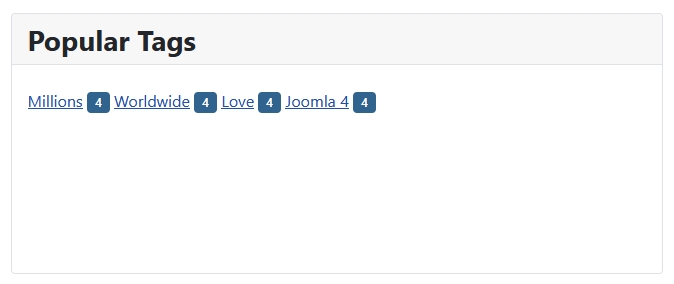
Popular Tags module with “card” style from Cassiopeia template
table is an old-fashioned style that displays the title and content of a module inside a table.
Like for “Module Layout” templates can offer their own module styles. Cassiopeia deliver two chromes: card and noCard

Popular Tags module with “card” style and Older Posts module with “noCard” style
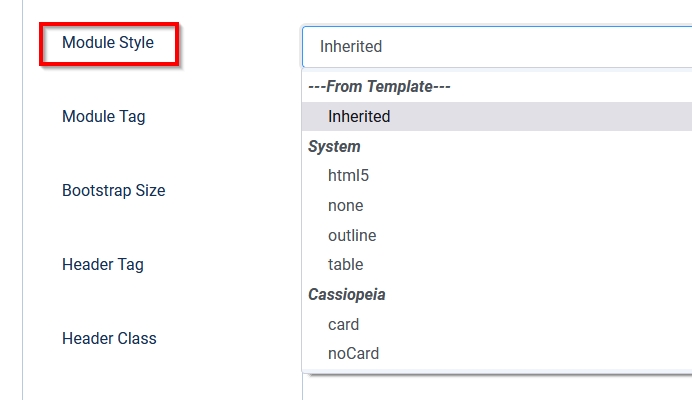
As you can see in the screenshot above the field “Module Style” lists all available styles for a module, from system (core), from installed template (Cassiopeia) and a default “inherited” from template. “Inherited” means the module will take the style defined in the module position in the template. Cassiopeia for example defines style “card” for modules in position top-a:
<jdoc:include type="modules" name="top-a" style="card" />
This definition can be changed by selecting another style in the module.
Another important parameter is “Module Tag”. HTML has several semantic elements that can be used to structure a website. These elements have intrinsic meaning and clearly define what kind of content they contain (https://www.w3docs.com/learn-html/semantic-elements-in-html5.html)

A <div> is the most used element in HTML and the default module tag, but it is very generic and says nothing about their content. Depending on the content of your module you can select a more meaningful tag, like <aside> for additional information related to the main content of the page.
“Bootstrap Size” can be used to change the width of a module. This parameter will add the class “col-md-YourSelectedBootstrapSize” to the module, but only if the selected style is “html5”.
For each module you can select the tag for the title in the field “Header Tag”:

You can select h1-h6, p or div. Choose what is semantically correct for your content.
Additionally you can add a CSS class to the module header in “Header Class”. Individual CSS classes allow you to modify the layout of the title with some lines of CSS.
Installing the “Blog Sample Data” on a test Joomla 4 instance can help you to investigate the different core modules and their parameters. Don’t be afraid and play around with parameters!

Comments