GitHub - Installing Git

Contributing to the Joomla project is much easier when you’ve got a local testing environment. This month we’ve prepared a tutorial on how to go about configuring a local testing environment.
In last month’s magazine article we gave readers a top level introduction to GitHub. We mentioned GitHub Guides as a starting point for finding out more about using GitHub. If you’re keen to jump ahead with learning more, that’s a great starting point with some exercises that help you learn how to use GitHub.
Getting involved in the Joomla project is another way to speed up your learning, as I’ve found over the past two months as we’ve moved the task management for the Joomla Community Magazine into GitHub. I’ve also found a great deal of support from other experienced Joomlers by getting involved in the Bugs & Fun @ Home program while writing this article.
Participating in Bugs & Fun @ Home has taken me from scratching my head a month ago to contributing my first Joomla 4 Pull Request. Last weekend with my test environment up and running, Philip Walton, Bugs & Fun @ Home coordinator, walked me through using the Joomla Patch Tester. Quickly getting the hang of testing, I was able to test a number of patches, and the ones that passed have now been committed into Joomla 4, fixing issues users have logged.
My key takeaway while setting all this up… patch testing’s less daunting than I’d thought it was. That means with a little help from this article, you’ll be able to patch test too! If enough readers also get involved, Joomla 4 will be here sooner.
We’ll also install Git and some other tools as part of the tutorial, but will be going into how to use Git in one of our future articles on GitHub with the Joomla Project. Today we’re focussing on setting up the applications you need on your computer to create a test environment, specifically for Joomla 4 Beta. We’ll then finish up walking through using the Patch Tester component in Joomla 4 Beta.
Getting started
In setting up a Joomla development environment, you will be setting up a hosting server on your computer that has a few extra tools compared to how you might host your normal Joomla website.
The AMP Stack
So the first software you need is called an AMP stack. AMP stacks lets you install a local webserver on your computer. They run an environment that includes Apache web server, MySQL database server and PHP. You’ll often see them referred to as LAMP, WAMP and MAMP. These are variations for Linux, Windows and Mac versions and there’s a number of programs available on each platform.
For this tutorial we’ll be installing XAMPP 7.4.7 (released June 17 2020) which has versions for all three operating systems, but you can install a different AMP stack if you have a preference. For example MAMP is very popular for Mac users.
Development Software
In addition to XAMPP, there’s three other tools which are recommended to be installed to create your Joomla development environment. These are optional if you’re just going to be patch testing, but are needed if you’re developing code for Joomla.
You need to install Git, which gives you the version control system tools that tie back into GitHub and allow you to pull down the latest updates from the Joomla CMS master repository. Once you’ve made changes to your branch, you can use Git to then create a pull request for your changes to then be merged back into the master branch and then be tested and committed into the project.
Next, install Composer, which manages Joomla’s PHP dependencies. Usually when you install Joomla, all of the dependencies required are included in the release package. Dependencies are PHP libraries developed to provide particular functionality that can be used by other code. They’re libraries that perform functions like including the default editor (TinyMCE), creating PDFs (TCPDF), sending emails (PHPMailer) and even the Joomla Framework itself. If you look in the contents of the libraries/vendor folder you’ll see all of the libraries that Composer downloads.
Following on from Composer, you’ll also need to install Node.js. Installing Node.js also installs a tool called Node Package Manager, known as npm. You use npm in the same way you use Composer, but instead of installing PHP libraries, npm instead installs Javascript libraries.
Installing a local testing environment
For this tutorial, we’re only going to walk through the XAMPP installation, followed by installing the Joomla 4 Beta for the purposes of testing patches.
If you’re looking at contributing to projects on GitHub, including Joomla, and need to manage versions of files, or pull down dependencies, you’ll also need to install Git, Composer and Node.js as mentioned earlier.
The installers for each are available at the following sites:
- Git - https://git-scm.com/downloads
- Composer - https://getcomposer.org/download/
- Node.js - https://nodejs.org/en/download/
All three have installers for various operating systems, and for this step in the tutorial, simply run the installers and we’ll come back to using them in a future article. If you’re ready to delve deeper into the process, jump to the resources section at the bottom of the article and you’ll find several Joomla Documentation links to walk you through the next steps sooner.
Install XAMPP
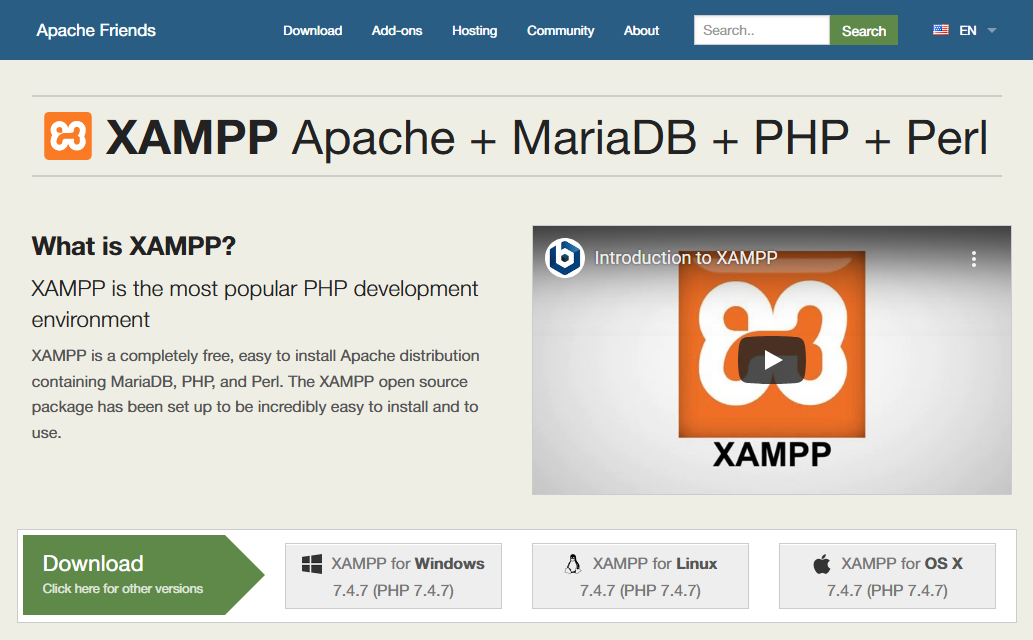
Firstly, download XAMPP from https://www.apachefriends.org/
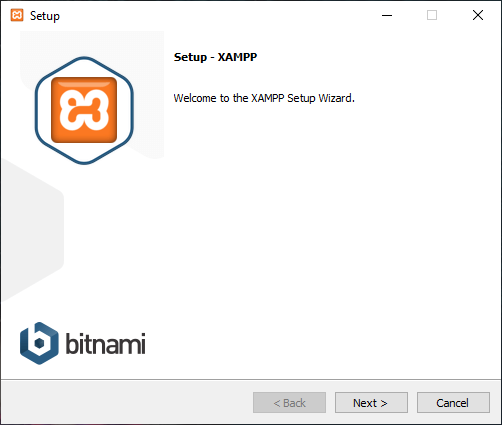
Run the installer to install it on your computer.
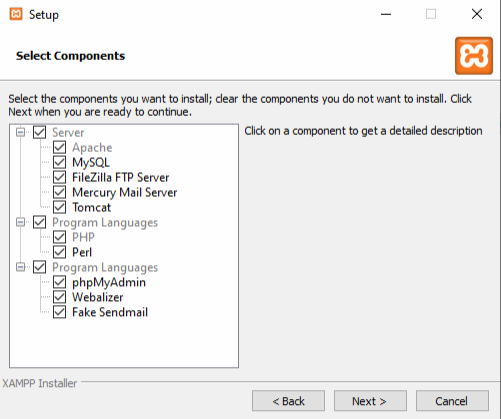
Select the components to install. At a minimum, you should install Apache, MySQL, Filezilla FTP server, PHP and phpMyAdmin.
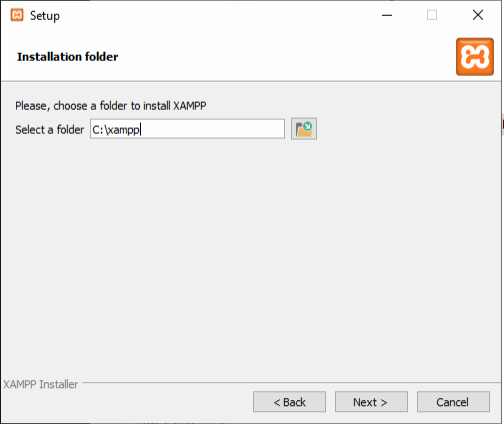
Select where you want to install XAMPP (usually c:\xampp is fine).
Note that if you’re updating XAMPP to the latest version, you need to uninstall and then reinstall XAMPP.
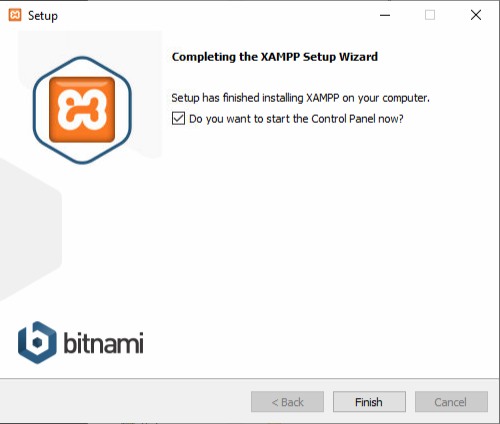
Tick start the control panel and click Finish.
You now have XAMPP installed.
Configuring XAMPP
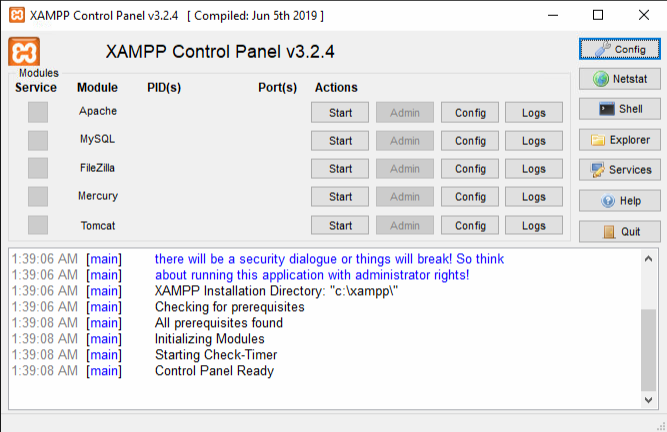
On completing the installation, the XAMPP control panel will open.
After installing XAMPP, you can set up XAMPP as a service, which will mean it runs when Windows starts up and keeps running in the background. 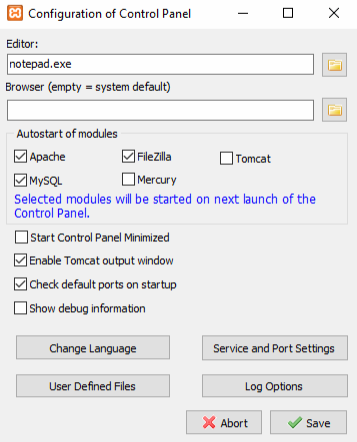
Click on Config to set the modules you want to start when XAMPP starts. For Joomla, you need Apache, MySQL (both required) and may want to also start Filezilla (optional - FTP server).
By default, XAMPP does not have a password on the root user of the database, which is needed in order to create a connection for the Joomla database.
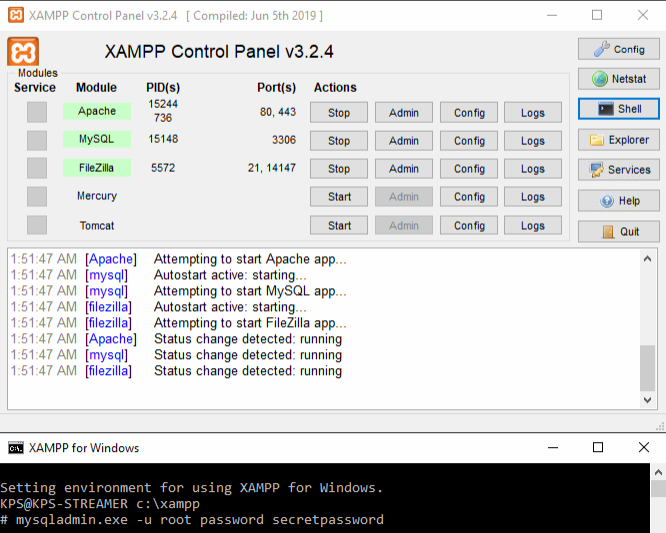
To set a password:
- Click on the Shell button on the XAMPP Control Panel to open the command line interface.
- At the # prompt, enter the following command:
Mysqladmin.exe -u root password secretpassword
You can create your own password instead of using secretpassword - MySQL is now running with the new password.
Next, that password needs to be put into the phpMyAdmin config.inc.php file for phpMyAdmin to be accessible.
- Open c:\xampp\phpMyAdmin\config.inc.php
- On line 21
$cfg['Servers'][$i]['password'] = ' ';
You need to add your password. In our example it will look like this$cfg['Servers'][$i]['password'] = 'secretpassword'; - Save and close config.inc.php
You can now open phpMyAdmin by going to https://localhost/phpMyAdmin. phpMyAdmin will automatically log in, and from there you can now create a database and a database user (see below).
Installing Joomla 4 Beta
You’re now ready to install Joomla in your local environment.
You will need to download Joomla, create a database in XAMPP, and then run the Joomla Installer to complete the installation of the Beta. So here we go...
Joomla Files
- Download the current Joomla 4 Beta here.
- Open c:\xampp\htdocs - this is the folder that is the root folder for the XAMPP server. It works the same as a public_html folder on cpanel.
- Create a folder for joomla4 (or folder name of your choosing)
- Copy the downloaded Joomla install package to the new folder
- Extract the package into the folder.
Create a Database
- Open phpMyAdmin by going to http://localhost/phpMyAdmin
- Click on the “User Accounts” tab
- At the bottom of the screen click “Add user account” in the New area
- Enter a username eg joomla4. This will also be the database name
- At the bottom of the “Login Information” section, click on Generate Password
- Copy the password so you can use it in the next part
- In the “Database for user account” check the box next to “Create database with the same name and grant all privileges.”
- Scroll to the bottom of the page and click “Go” to create the database user and database.
- You will now see the joomla4 database (or the name you created) in the list of databases in the phpMyAdmin side bar.
Install Joomla
- To load the Joomla installer, open http://localhost/joomla4 (or the folder name you created above).
- The Joomla Installer should appear on the screen.
- Enter a name for your joomla site, then click “Setup Login Data >”
- Fill out the fields to create a super user account for your local installation
- Click “Setup Database Connection >”
- Fill out the username, password and database name with the details from the previous step. Username and database name will be the same if you followed the steps above.
- Click “Install Joomla >” and joomla will now install.
- When you get to the Congratulations page, optionally install additional languages, and then click on “Remove “installation” folder” to complete the installation.
- You can then access the front end or backend of the site.
Congratulations on getting to this stage! You now have a local version of Joomla installed on your computer.
You can access the front end of your site via http://localhost/joomla4 (or the folder you installed the site in) and the backend of the site via http://localhost/joomla4/administrator.
One last recommended step is to install the “Blog Sample Data” on your test site so you have some content you can use for testing. You’ll find the install module in the middle of your administrator dashboard when you log into the site.
Install the Patch Tester component
To make patch testing easier, the Joomla Development team have build a special Joomla! Patch Tester Component you can download and install.
- Download the patch tester here: https://github.com/joomla-extensions/patchtester/releases/tag/4.0.0-rc2
- In your Joomla 4 local installation, go to System > Extensions to install the component.
- Once installed, go to Components > Joomla! Patch Tester
The first time you load the Patch Tester you need to set up Authentication with GitHub.
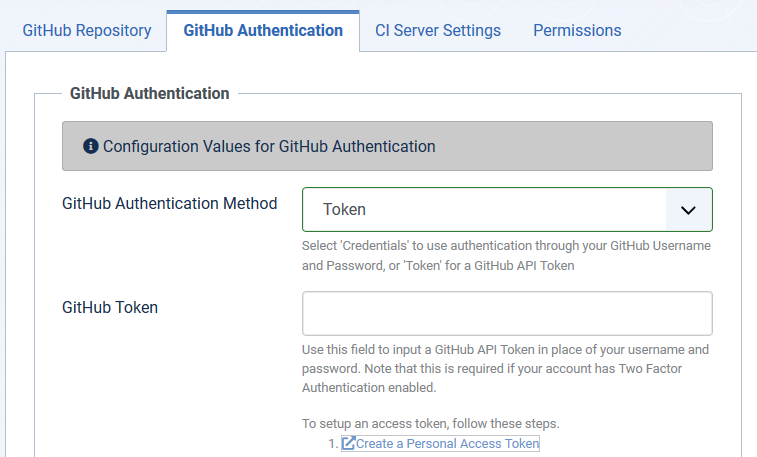
- Click on Options
- Click on GitHub Authentication
- Change the GitHub Authentication Method to Token
- Click the “Create a Personal Access Token” link in the steps below the GitHub Token
- Log into GitHub
- On the “New personal access token” screen, you need to have the following two scopes selected:

- Scroll to the bottom of the page and click “Generate Token”
- Copy the token that appears on the screen.
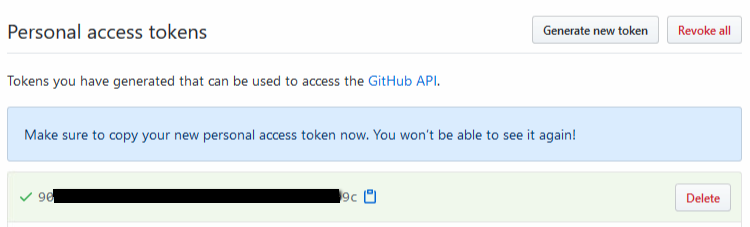
Note that you can’t view the token again after it’s been generated. If you don’t copy it you will need to generate a new token.
- Close the GitHub tab
- Paste the token into the options screen
- Click “Save & Close” to save the token and complete the authentication
- Click on Fetch Data at the top of the Joomla! Patch Tester screen
- You’ll now have the live list of patches ready for testing.
You can also do all of the above for Joomla 3 if you would like to patch test for Joomla 3. You can find out more in the resources below.
Using the Joomla! Patch Tester
So now you have everything set up and ready to start testing patches with the Joomla! Patch Tester. This Joomla! Documentation page has more details on the testing process, but if you’ve stuck with the setup to now, here’s the loop you need to follow to complete a test.
- In the Patch Tester, select the Pull Request you are looking to test.

- Click on “View on Joomla! Issue Tracker” to open the tab that tells you what you need to do to test the patch. Check you’re logged into the Joomla! Issue Tracker with your GitHub login, or you won’t be able to start the test.
- Return to your test site and test what the actual behaviour is before the patch is applied
- Return to Components > Joomla! Patch Tester, and now click Apply Patch to apply the pull request temporarily to your test installation
- Repeat the test scenario now, and see if you get the expected result with the pull request applied
- Return to the Joomla! Issue Tracker tab that is open and click on the “Test this” button
- Report on whether the test was successful or not, and add a note to explain what you encountered during the test, or to respond to other feedback on the issue.
- Click “Submit test result” and the test will be submitted.
- Return to the Joomla! Patch Tester now, and click on Revert Patch to now remove the patch from your test installation so that it doesn’t interfere with other tests you’re going to perform.

- Repeat the process for as many tests as you feel comfortable completing.
Wrapping up
So you can see we didn’t really get to Git yet, but we’re getting closer. The Patch Tester effectively does what Git does, but in a nice GUI. I do hope though that I’ve pulled back the curtain on the wizardry behind patch testing.
Next time we’ll look more into how to do a patch test with Git directly, as well as move towards how you go about adding code to an issue and turning it into a pull request so you can start modifying things to make your own patches to test to fix issues found in Joomla.
I’m working my way up from language overrides to module parameters. Still in the pipeline are contributions to PHP code, and at the end of the GitHub series, I’ll review the process required to manage a major pull request - 8 components and over 30 files will end up forming the patch to resolve an issue I’ve been aware of for 10 years.
If there’s questions you have, please feel free to post them in the comments, or jump on the Zoom or Meet sessions during Bugs & Fun @ Home and there’ll be someone else online that can ideally help you out.
Resources
Joomla Documentation
- Testing Joomla! Patches (Joomla 3 & Joomla 4)
- Git for Joomla Testers & Trackers
- IDE (Integrated Development Environment) Joomla Docs Category
- Joomla XAMPP Guide
- Creating a database in XAMPP
- Server Setup Local Joomla Docs Category
Additional resources
Getting Involved
About the author
By accepting you will be accessing a service provided by a third-party external to https://magazine.joomla.org/
Comments