
Looker studio is a free data visualisation tool provided by Google. Tell your data story using pie charts, bar charts, paginated tables and more...
You probably know how to collect data and statistics from your Joomla website (and if you don’t: check our previous articles about analytics. But what if you want to visualise them or present them to your clients (or your chief)? That’s where Google Looker Studio comes in.
What is Looker Studio?
Looker studio is a FREE data visualisation tool provided by Google. It allows you to turn your data into impressive visual reports from many sources. Customise your reports with customer logos, and tell your data story using pie charts, bar charts, paginated tables and more. Reports can also be made interactive with viewer filters and date range controls.
What happened to Data Studio?
Google Data Studio first appeared in beta in 2016, and if, like myself, you have used it for many years, you may be wondering what happened to it. So, Google officially rebranded Data Studio in October 2022. In Google's official announcement, the following was stated:
"We are unifying our business intelligence product family under the Looker umbrella, bringing together Looker, Data Studio, and core Google technologies like artificial intelligence (AI) and machine learning (ML). Looker Studio is still free and has the same features as Data Studio."
Unifying Data
With Looker Studio, you can connect various data sources into one unified reporting experience. These include Google Marketing Platform products, such as Google Analytics, and Google Ads, along with consumer products, such as Sheets, YouTube and Search Console.
Additionally, you can connect BiqQuery, MySQL and PostgreSQL databases, CSV file upload, Social Media Platforms and more.
So how do I get started with Looker Studio?
To access Looker Studio visit https://datastudio.google.com (Google still needs to change the URL). You should access Looker Studio using the Google Account you use to access your Google Analytics, Search Console, etc. You will be asked for basic info to complete your account set-up, and then you're good to go.
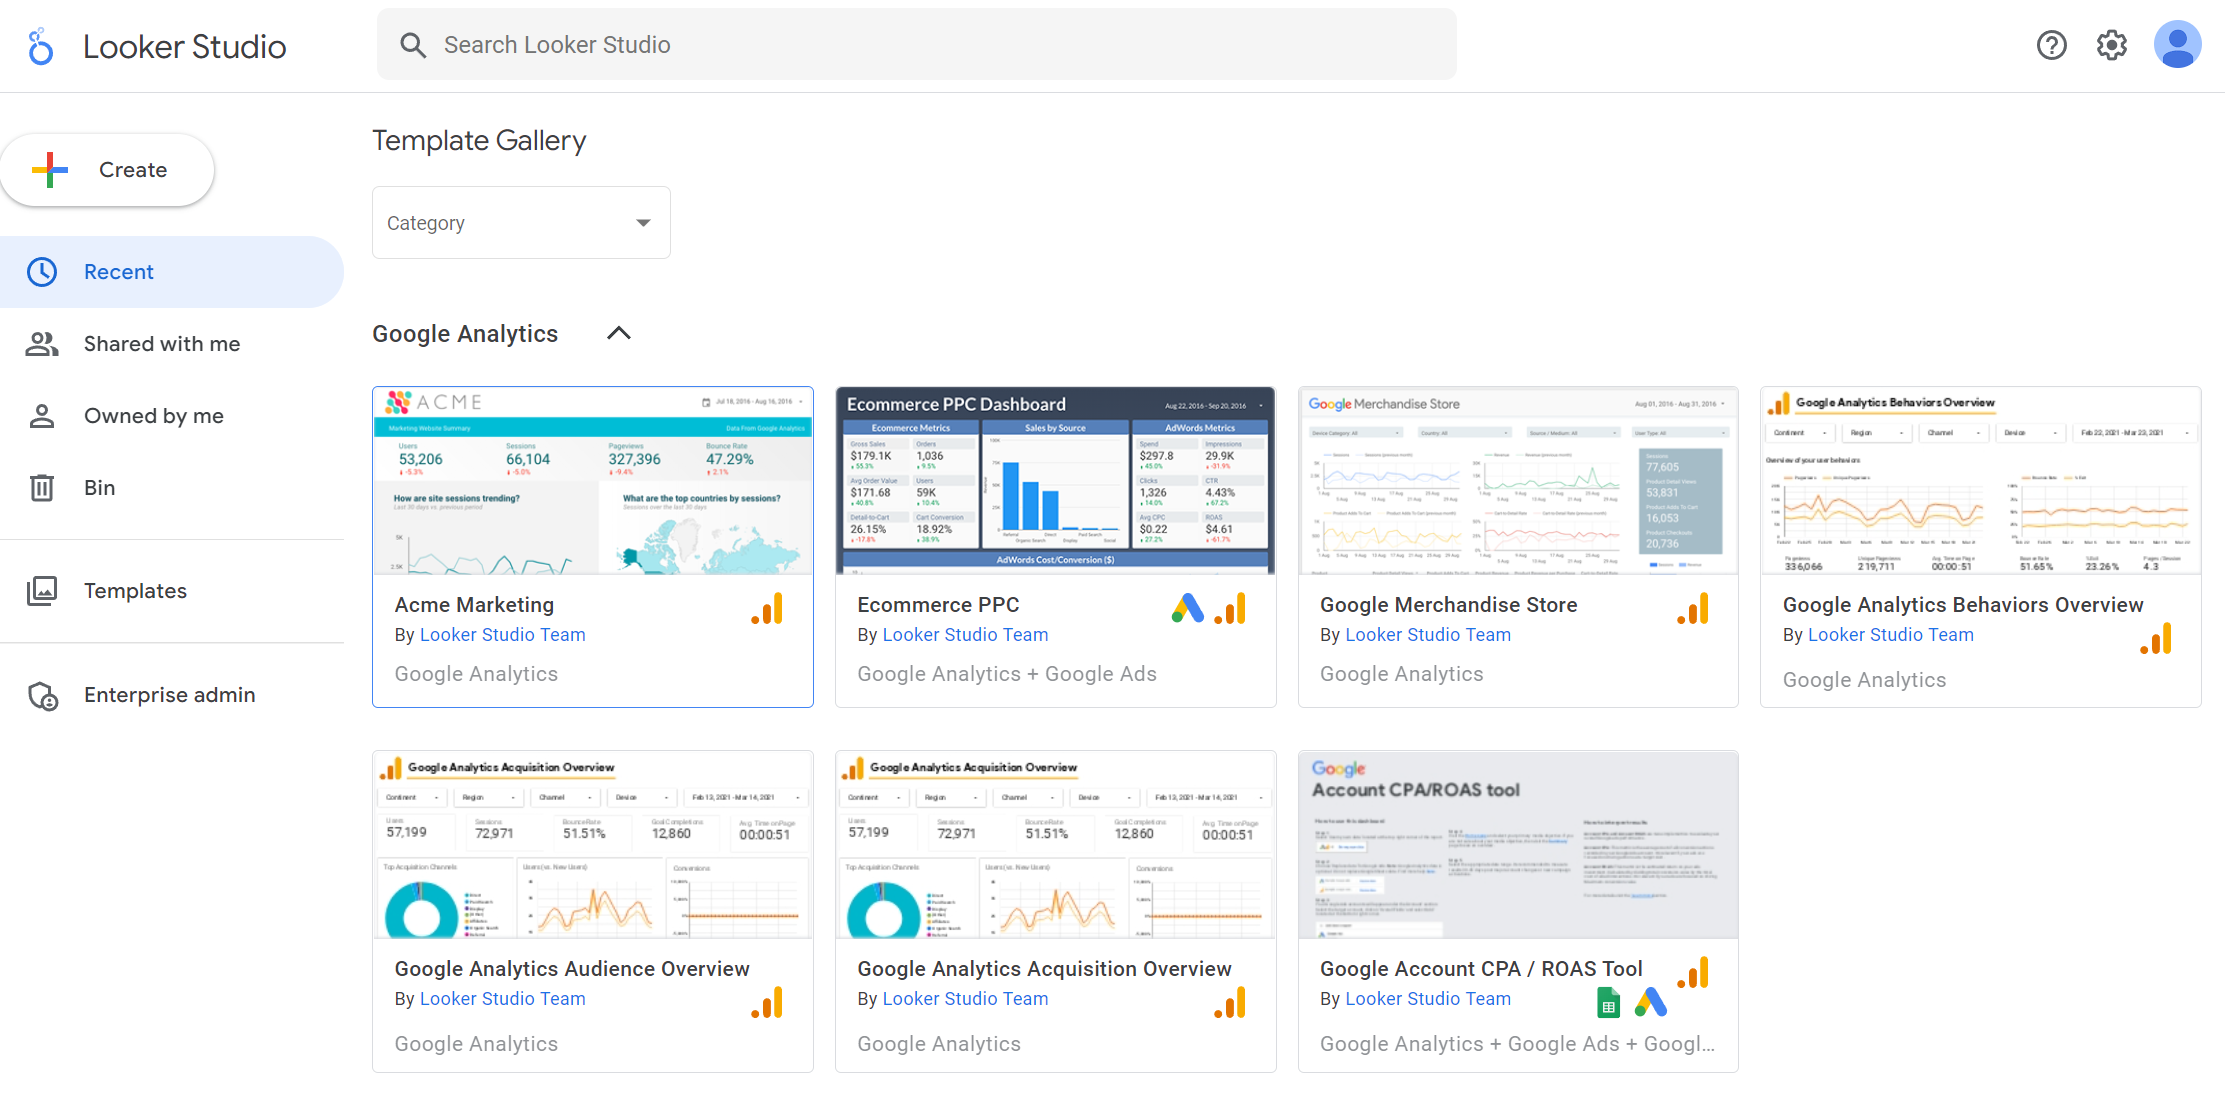
If you're new to Looker Studio, look at the templates. Templates have a sample data set attached, so it's a good way of understanding how Looker Studio works and what can be achieved. Alternatively, you can start with a blank report.
Whether you use a template or start from scratch, Looker Studio allows you to customise colours, items and fonts to match yours or your client's branding.
Adding your Data Source
The next thing you'll want to do is add your data source. If you are using a blank report, you will automatically be prompted to add data; if you have selected a template, click on the 'Use my own data' button. This will bring up the add data to the report page; the page has two tabs, 'Connect to data' and 'My data sources'. ‘Connect to data’ is to create a new data source, and ‘My data sources’ lets you add an existing data source.
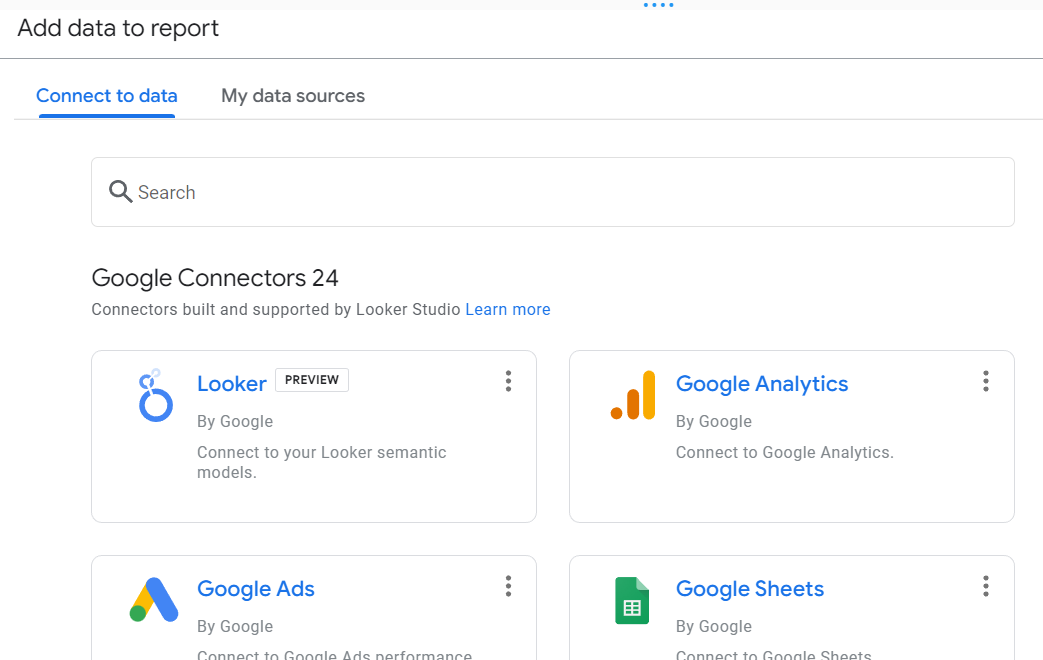
The 'Connect to data' tab has 24 Google Connectors; these are connectors built and supported by Looker Studio; in addition, there are 685 partner connectors that facilitate adding even more data to your reports. These include Instagram insights. Twitter Insights, HubSpot, Mailchimp, Semrush position tracking and many more. However, please note that these third-party connectors are not free.
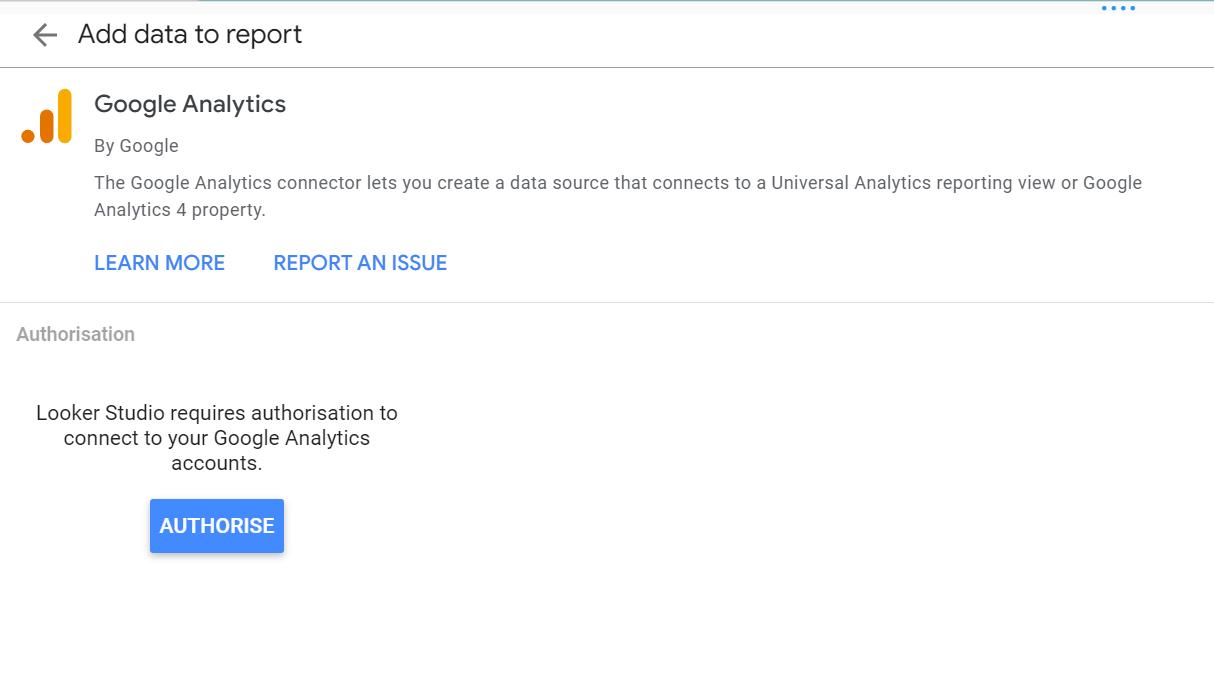
For this example, we're going to add Google Analytics. Click on the Google Analytics Connector, and you will be required to authorise. Once authorisation is complete, you can see your data stream within the report.
Choosing which metrics to select
Okay, now we are presented with many options, configurations and customisations. And as the saying goes, just because you can do something doesn't mean you should! In other words, don't be tempted to data dump and include everything. As with your analytics reporting set-up, think about the metrics helpful to you and your clients.
Your Google Analytics data stream can be seen on the right-hand side of your report; selecting 'add a chart' will show you all the available options to display your metrics.
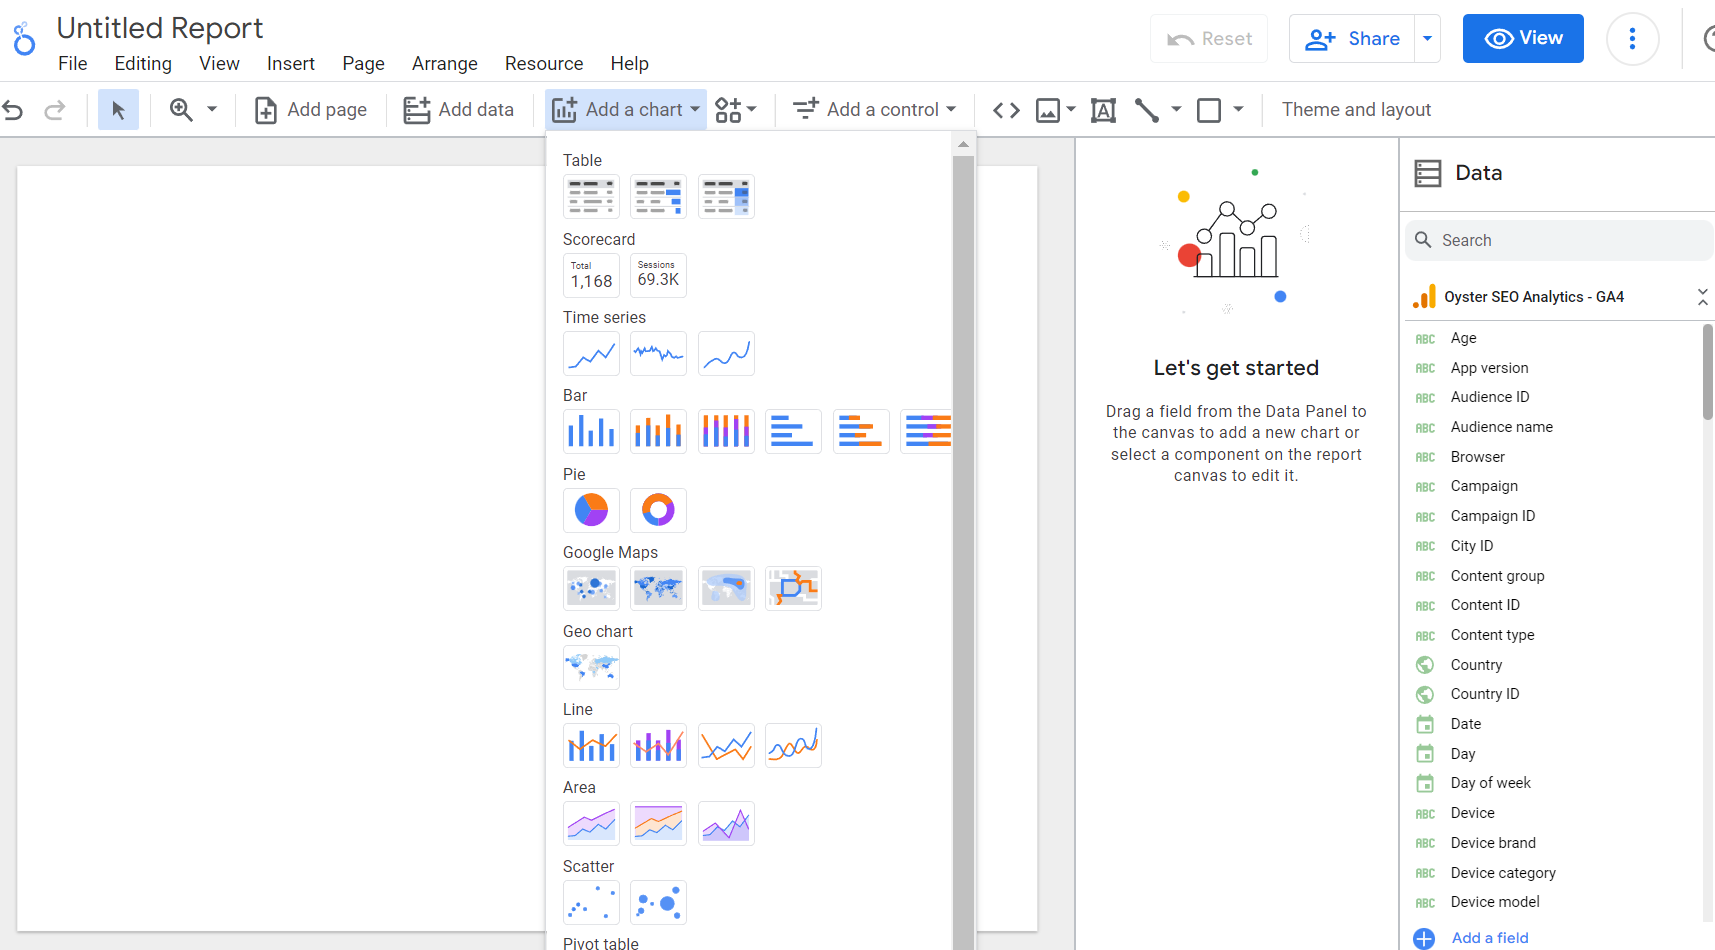
Example Session by Country Pie Chart
Here's an example of how to create a basic session by country report as a pie chart. Click on 'add a chart' and select Pie; click to add to the page. To add your country dimension, scroll through the data on the right or use the search, making it much more manageable.
Drag 'country' data over to the dimensions box. Then select your 'session' metric in the same way and drag it to the metric box. Select the required date range for your pie chart; this can be one of the many preset ranges available such as 'This Year' or 'This quarter to date' or a custom range.
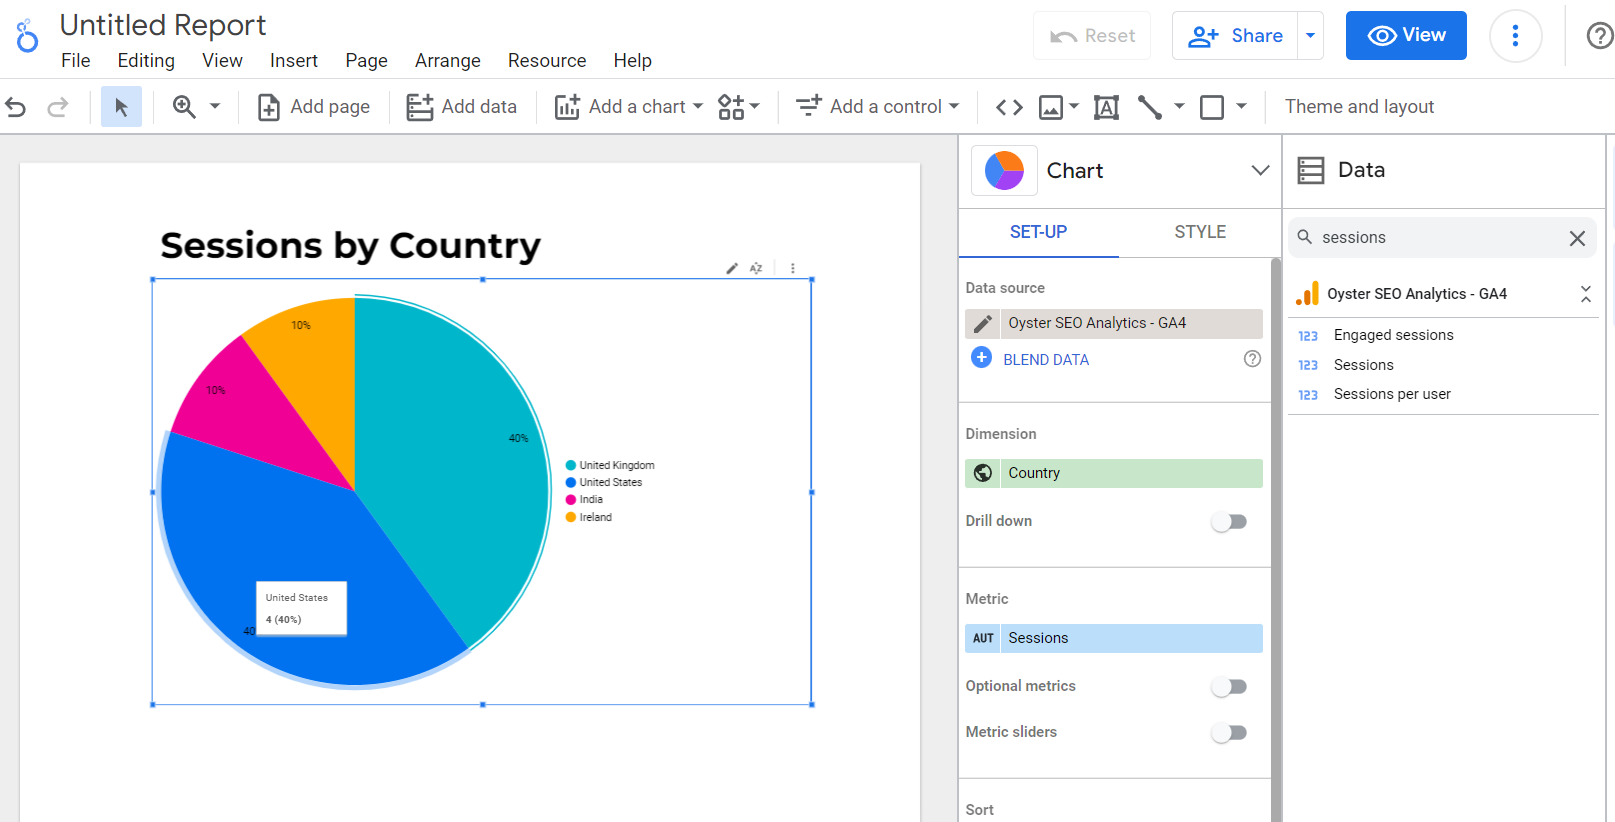
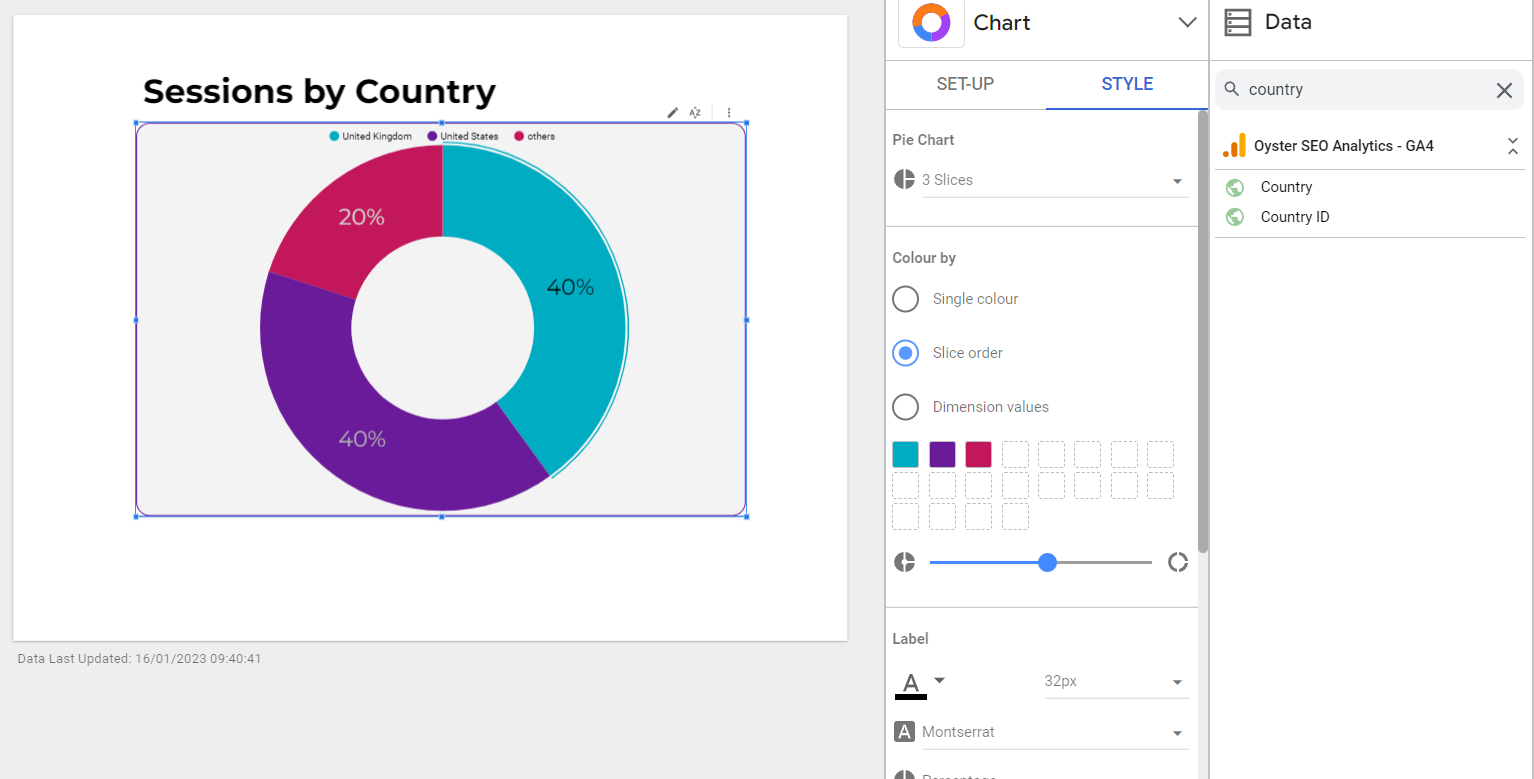
Next, I used the text tool to add a title to the Pie Chart. We can also style the pie chart by clicking on the 'Style' tab. Let's see what our styling options are.
The first option is to change the number of slices; this can be useful if you have multiple slices, which makes viewing difficult. My original pie chart had four slices; reducing it to three will display the top two largest slices and merge the remaining into 'other'.
We can change the slice's colours, customise the label size, colour and font, change the alignment of the labels, change the percentage to a value and turn it into a doughnut pie chart, all with a few clicks.
Looker Studio Tips
Creating the perfect reports for you or your customers will take a little time, trial and error. A favourite chart of mine is the 'Scorecard'; I typically have a row of these across the top of my customer reports. Set a compare-to-date range, and you have an excellent overview of your chosen metrics compared to the previous period.

Once you have created a template that works for you, you can make a copy and add a new data source to reuse. Adding some third-party data without paying for an additional connector is also easy: any meaningful or bespoke data put into Google Sheets and then add it as a data source.

Comments