Less than 10 mins to change the design of the login module
"Joomla is complicated", "Joomla is for tech guys", "Joomla isn't user friendly". These are just a few of the most common (unfair) critics - or rather: assumptions - I've read about this awesome CMS.
In fact, Joomla is exactly like any other CMS or topic: cooking, astrophysic, woodcraft, scuba diving, etc. It's complicated if you don't take time to learn and to train about a minimum.
But like with all other skills: if you take few minutes to dive into Joomla, you'll definitly learn something new, something useful, and you will probably also change your mind.
And because I'm sure I'm right, I bet you'll learn to completely change the design of the Joomla login module in less than 10 minutes. Yes, less than 10 minutes!
Who is this tutorial for?
This tutorial is primarily for Joomla beginner users, because newcomers need easy examples to learn, to understand, and to progress (so yes, advanced user: the explanations will be basic for you, but I think it's worth reading it anyway).
The purpose of this article is to demonstrate that everybody can learn and improve their Joomla skills very easily. You only need willingness, and 10 minutes!
What are you going to do with this tutorial?
In this tutorial, you'll learn to change the frontend display of the default Joomla login module.
And no need to take a deep breath, no need to have a computer PhD and no need to worry, you won't break anything.
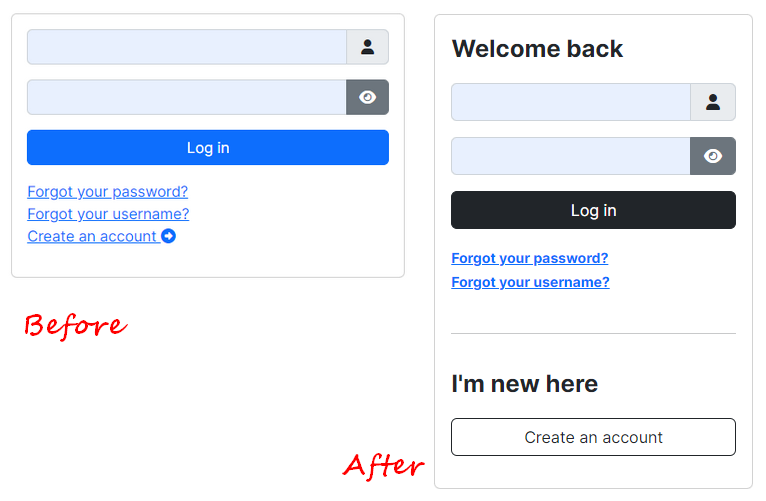
By default, the Joomla login module is efficient technically and delivered with a basic design. Thanks to this tutorial, your login module will look like that:
What do you need to follow this tutorial?
- Joomla 5 installed on a server (local or distant)
- 10 minutes free time
- and because Joomla 5 is powered by Bootstrap 5, it might be useful to open the documentation of this framework in your browser: https://getbootstrap.com/docs/5.2/getting-started/introduction/
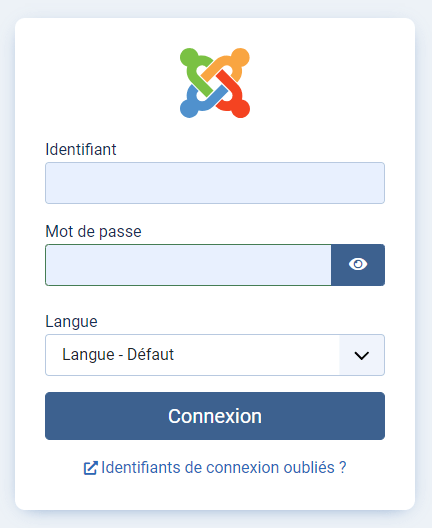
In this tutorial, I've disabled the plugins System - Remember Me and System - Passkey (Passwordless) Login only for display reasons.
Ready? Let's override the login module!
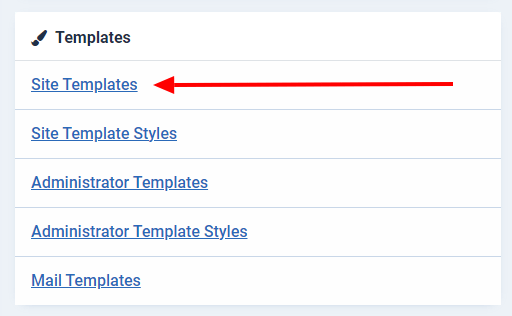
1. - Open your Joomla admin panel
1.1 - Follow: System > Templates > Site Templates
1.2 - Click on your template's name to access to its files
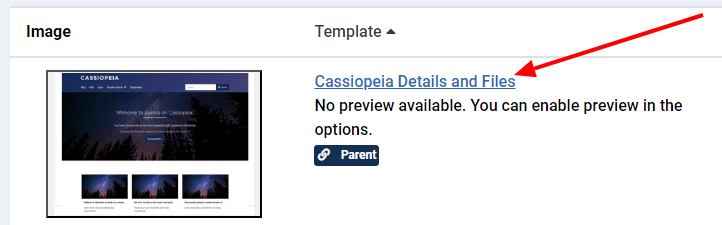
1.3 - Click on the "Create Overrides" tab to open it
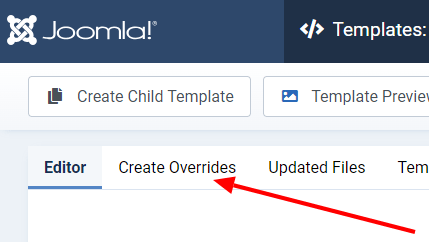
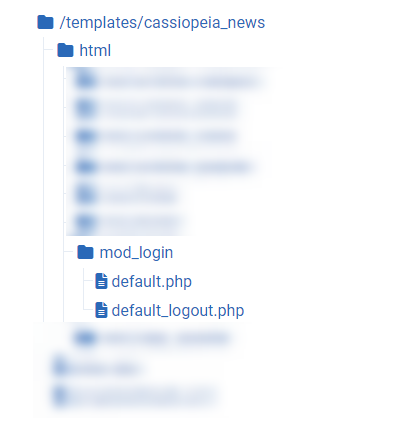
1.4 - Click on "mod_login" in the module list to create the override

2. Edit the code of the override
2.1 - Click on: HTML > mod_login > default.php
2.2 - In the text editor on the right of your screen, locate line 31 and add:
class="fw-bold fs-4"to the <p> tag.
Explanations:
- fw-bold: we bold the pre-text with this Bootstrap class. More info about the font weight here: https://getbootstrap.com/docs/5.2/utilities/text/#font-weight-and-italics
- fs-4: we use this other Bootstrap class to resize the pre-text. More infos about the font size here: https://getbootstrap.com/docs/5.2/utilities/text/#font-size
2.2 - Locate line 35 and replace:
<div class="mod-login__userdata userdata">by
<div class="mod-login__userdata userdata pb-2">Explanations:
- pb-2: we add some padding at the bottom of this section.
2.3 - Locate line 108 and replace:
btn-primaryby
btn-darkExplanations:
- We only change the color of the login button. More info about buttons here: https://getbootstrap.com/docs/5.2/components/buttons/
2.4 - After line 133, add a <br /> to display an horizontal line.
2.5 - After line 138, insert the following code:
<div class="mod-login__submit form-group">
<a class="btn btn-outline-dark w-100" href="/<?php echo Route::_($registerLink); ?>">
<?php echo Text::_('MOD_LOGIN_REGISTER'); ?> </a>
</div>
Explanations:
- We've moved the account creation button to a new section, more visible for visitors. We also use the post-text field as title for this new section.
- We've applied an outline design to the button, as it's a different section.
2.6 - Select and remove lines 122 to 127
Explanations:
- Line 122: As we'll display the creation account by default, we do not need to check the status of this parameter.
- Lines 124 & 125: This is the code to open the page to the creation account. We've already added it at step 2.5.
Now, your code from line 134 to 142 should look like this:
<hr />
<div class="mod-login__posttext posttext pt-3">
    <p class="fw-bold fs-4"><?php echo $params->get('posttext'); ?></p>
</div>
<div class="mod-login__submit form-group">
    <a class="btn btn-outline-dark w-100" href="/<?php echo Route::_($registerLink); ?>">
    <?php echo Text::_('MOD_LOGIN_REGISTER'); ?> </a>
 </div>
<?php endif; ?>
2.7 - Click on the "Save and close" button if it's correct.
3. Let's apply our new design
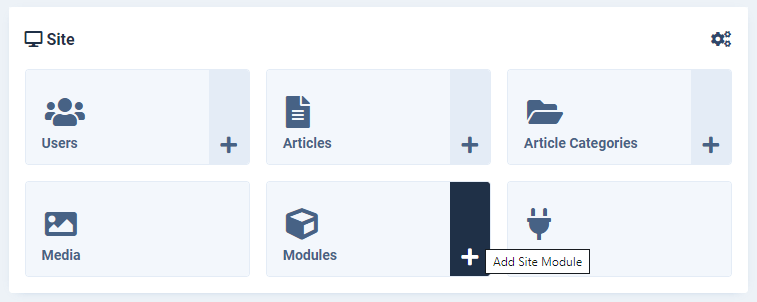
3.1 - From your admin panel, click on "Modules"
3.2 - Locate and open your login module (created by default with Joomla)

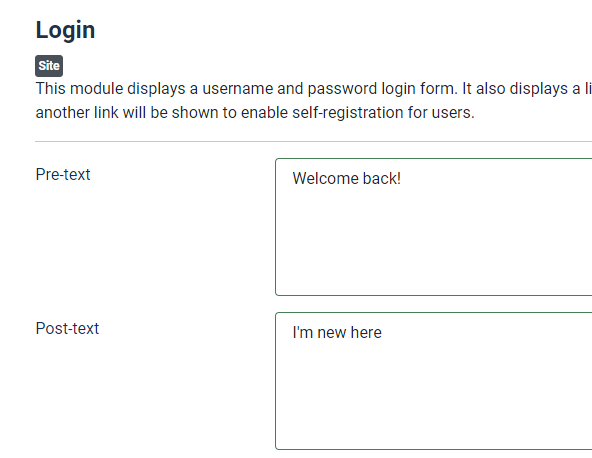
3.3 - Enter the pre-text Welcome back and the post-text I'm new here (or whatever you prefer).
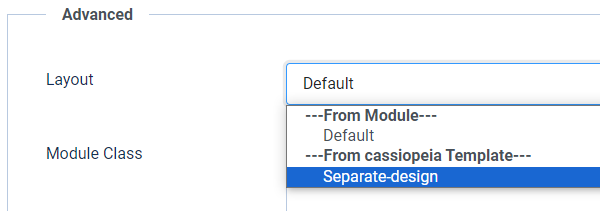
3.4 - Select your override in the module layout options in the "advanced" tab.
3.5 - Click on the "Save and close" button once you've done.
5. Take a look at your frontend
Yeah, the design of your login module is nice, clean and as expected!
Congrats, you did it and in less than 10 minutes, as promised!
Best practices to create overrides like a Boss
- instead of overriding the "default.php" file, you could create a copy and rename this copy. This way, you keep the "default.php" file as a model and you could create as many overrides of the same module as you need.
- if needed, use the "-" in the name of your overrides. With the "_", your override will not be available in the module layout dropdown.
- as much as possible, use the Bootstrap classes (or the CSS classes of the framework of your template) in your overrides to save time and performances.
- if your override isn't applied on frontend, check if you've selected it in the module layout options in the "advanced" tab.
- you don't need to learn code to create overrides, but knowing how to read code might help a bit.
- finally the best advice about overrides is simple: test, test and test again. You'll not fail, you'll learn how to.
Conclusion
As promised, it wasn't very complicated but the most important point is you've learnt new skills about Joomla and you can be proud of yourself!
There are tons of login forms designs available on Internet. Find the one you love and following this example, create your own override.
If you like this kind of tutorials, let me know in the comments what Joomla core module you would like me to take as example next month!
About the author
By accepting you will be accessing a service provided by a third-party external to https://magazine.joomla.org/
Comments