
This is the second part of the small series of 3 articles about the Contact Component (com_contact).
In the first part I gave you a short overview about the backend part of this powerful component. I described why I think that it is a really powerful core extension, and I figured out why it is really underestimated by most users. Afterwards I showed you how to set up a basic category tree and how to create a contact, and explained which fields are available. I assume the content of the first article to be known, if not you will find the article here: https://magazine.joomla.org/all-issues/march-2023/explore-the-core-contact-component-part-1 .
Today I will show you how to display content of the Contact Component in the frontend. And you’ll discover how you can expand the contact information by custom fields, so you can individualize the information you can save and display to a single contact.
How to display Information in the frontend
If you want to display information or content from the Contact Component go to the Menu section and select the Menu where you want to add an entry to display the contact details. Click on the New and in the next screen, click on the Select button. Go to the part of Contacts and you will find different menu entry types, like the ones shown in figure 1.
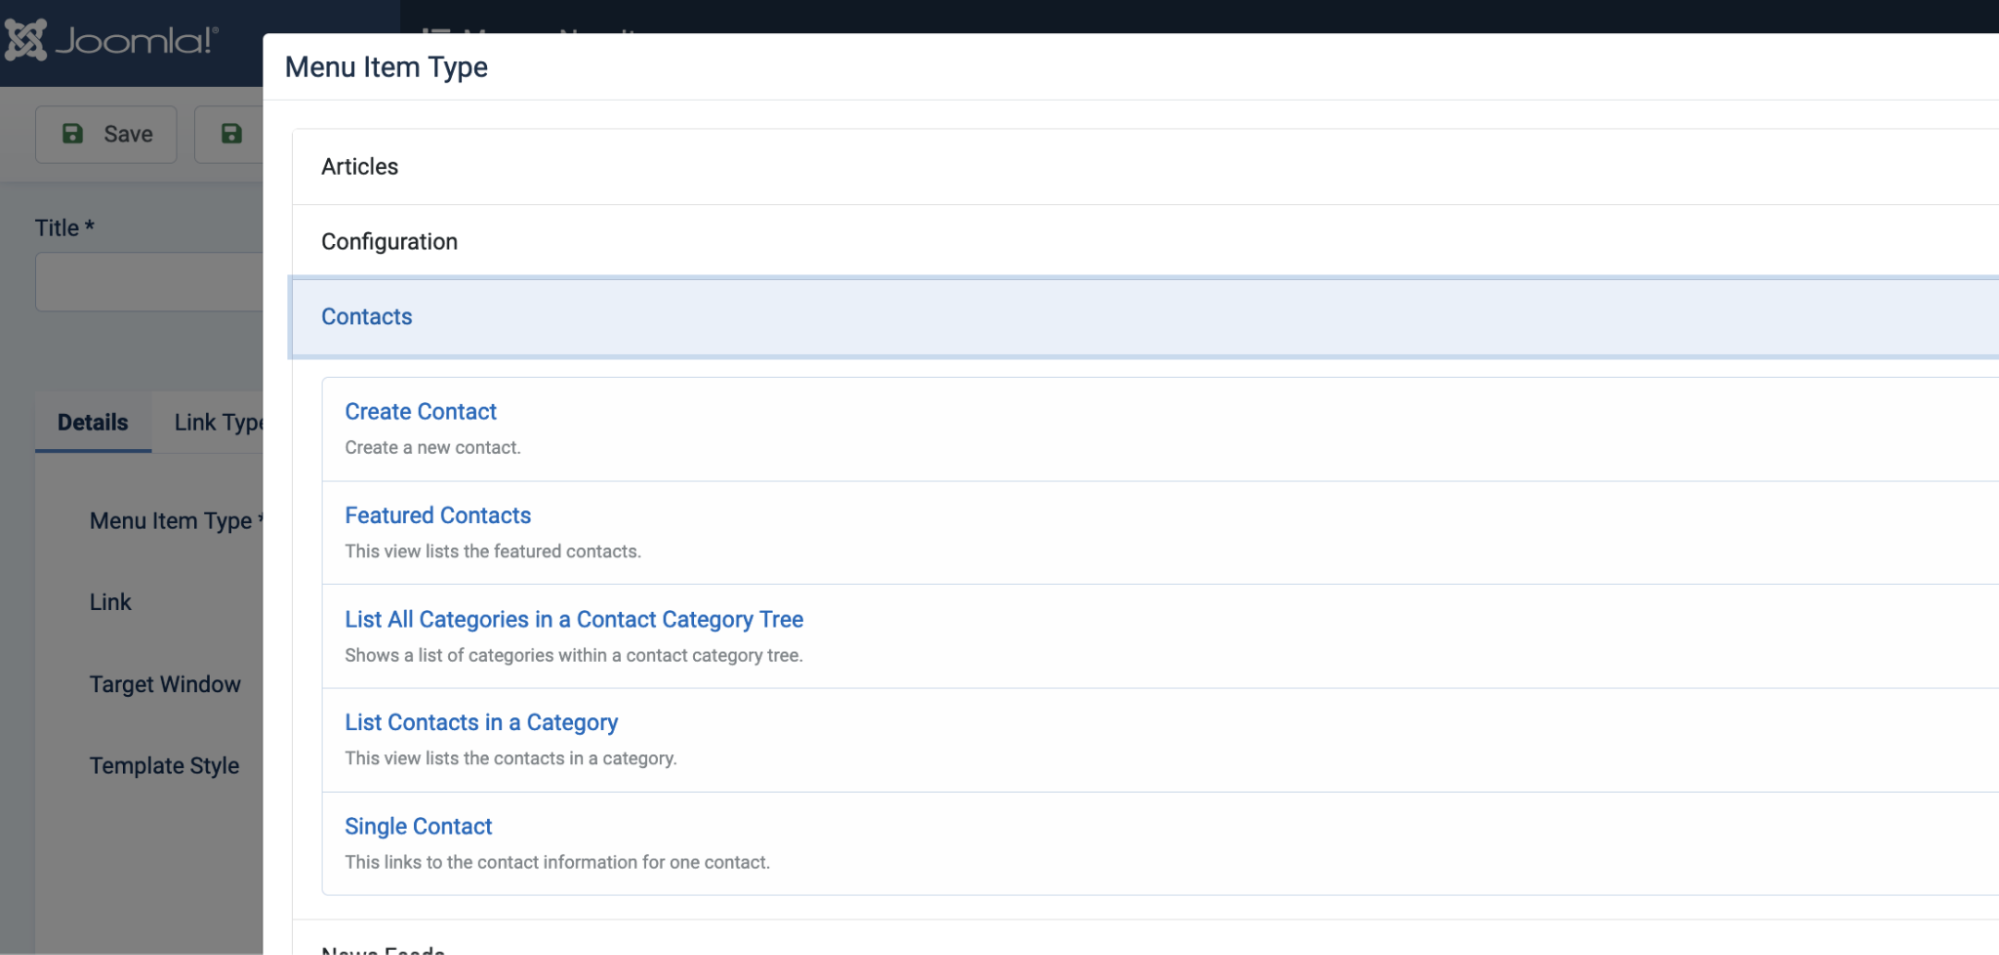
The types used most often are the second to the fifth. I will explain what you can use the different types for:
Create Contact: Here you can create a contact. I don’t have a good use case for this type, only one idea when to use it: when the content will be managed completely in the frontend.
Featured Contacts: Will display all contacts which are marked as featured. It works like the overview of the featured articles.
List All Categories in a Contact Category Tree: This gets you a tree to click through the contact categories. In the third part of this series I will show you how to create an override to provide an organization diagram.
List Contacts in a Category: Shows all contacts of a category, like the category view of the content component.
Single Contact: Display a single contact like the single article view of the content component.
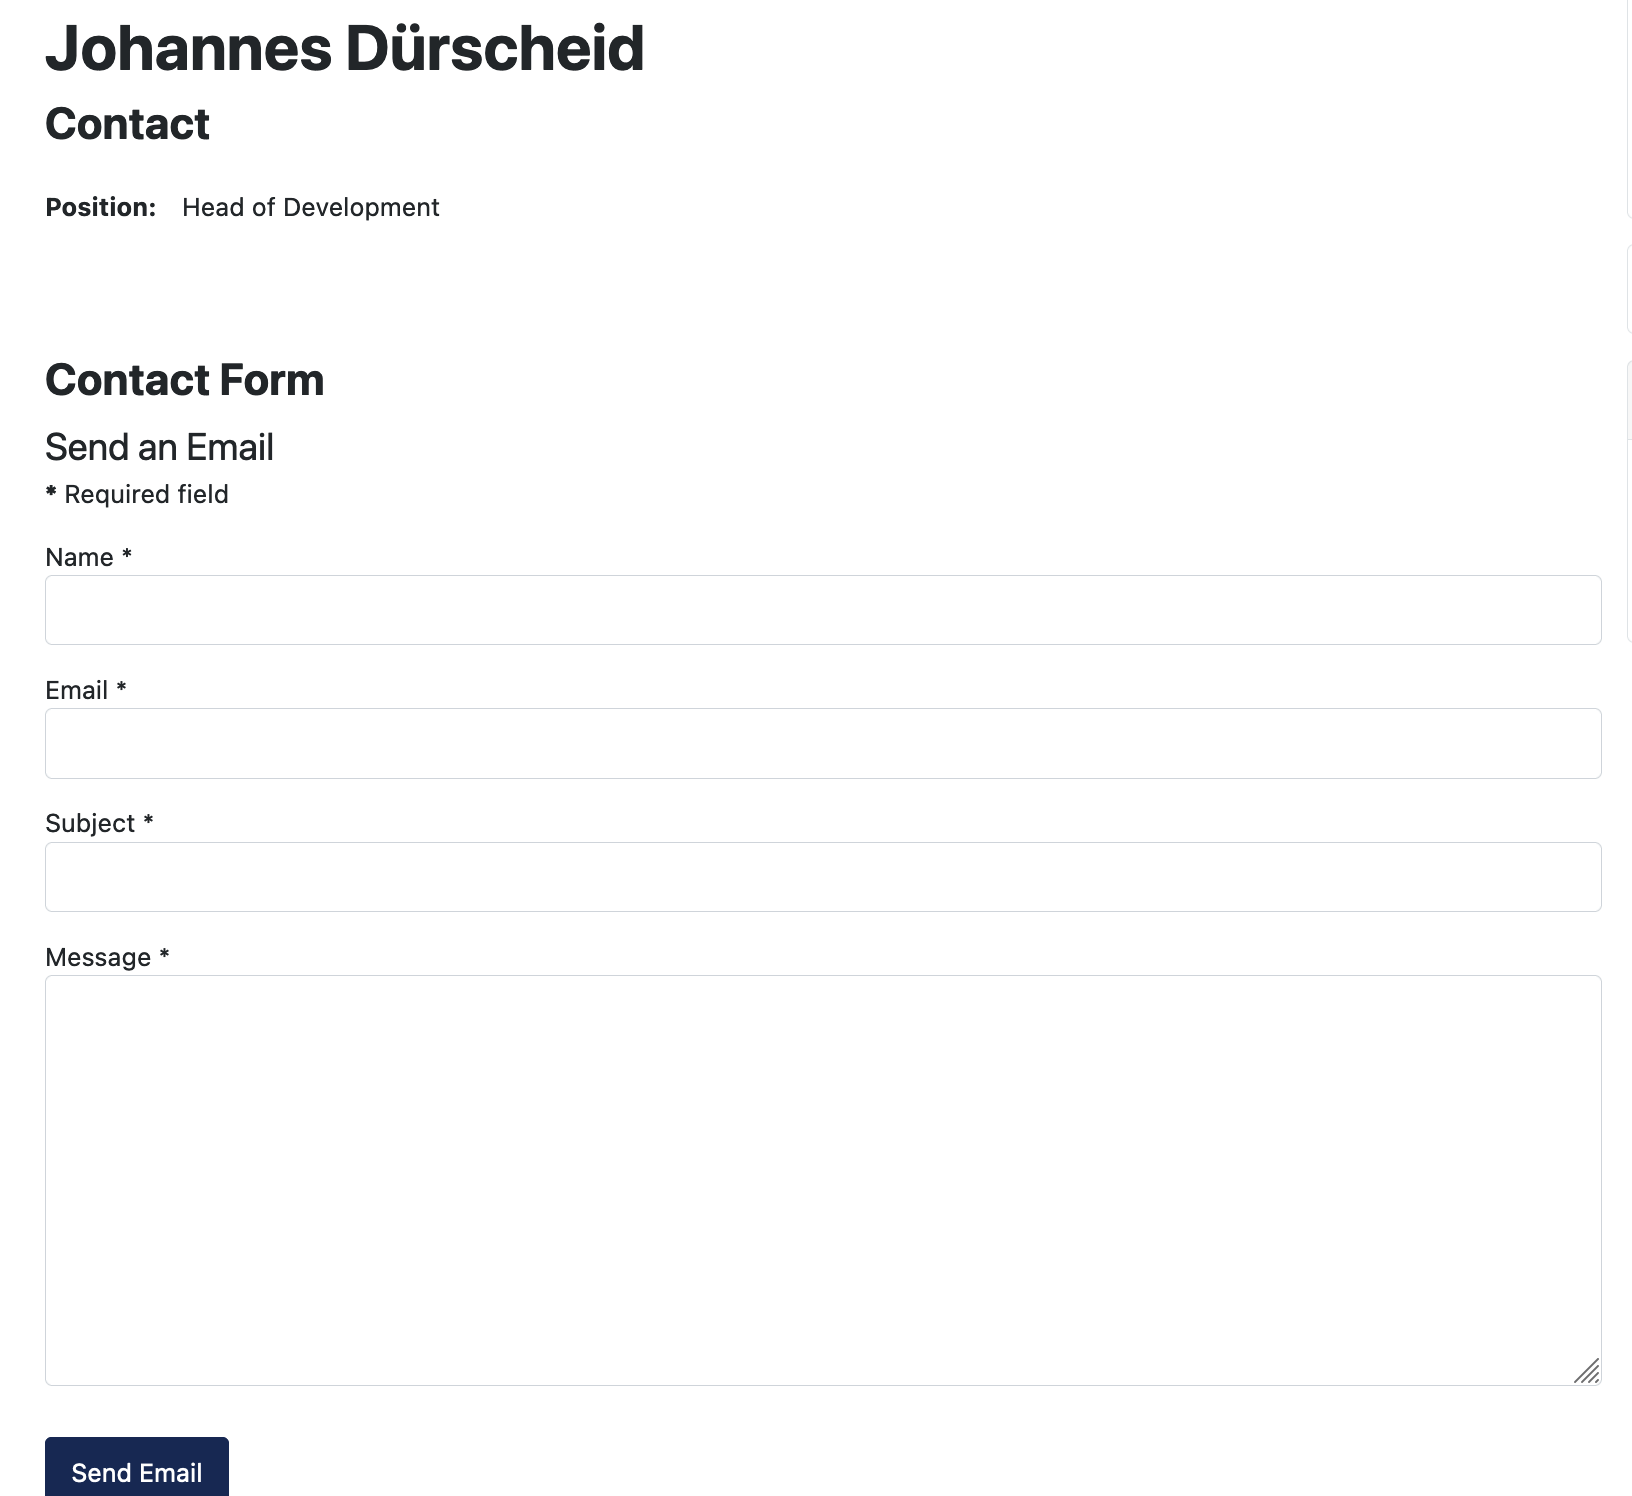
I would recommend trying out for yourself what the individual views look like. You can easily influence the style by custom CSS for example. Figure 2 shows how a single contact will be displayed in the frontend using the Cassiopeia template. You can see in the standard settings also a basic contact form displayed. In the third part I will show you how to individualize it for your use case.
Expand contact information with custom fields
It is really easy to expand the contact information you can provide by a single contact. It works similar to the Custom Fields in the Content Component. You can create Field Groups (Components -> Contacts -> Field Groups), so if you want to add many Custom Fields to your contacts it might be a good idea to cluster them by topics. That makes it easier to manage and find fields in the edit mode of a contact. The fields will be managed in the backend (Components -> Contacts -> Fields). You can perform the most settings already known from the Custom Fields in the content component. For example: configure that some fields are only displayed in some categories.
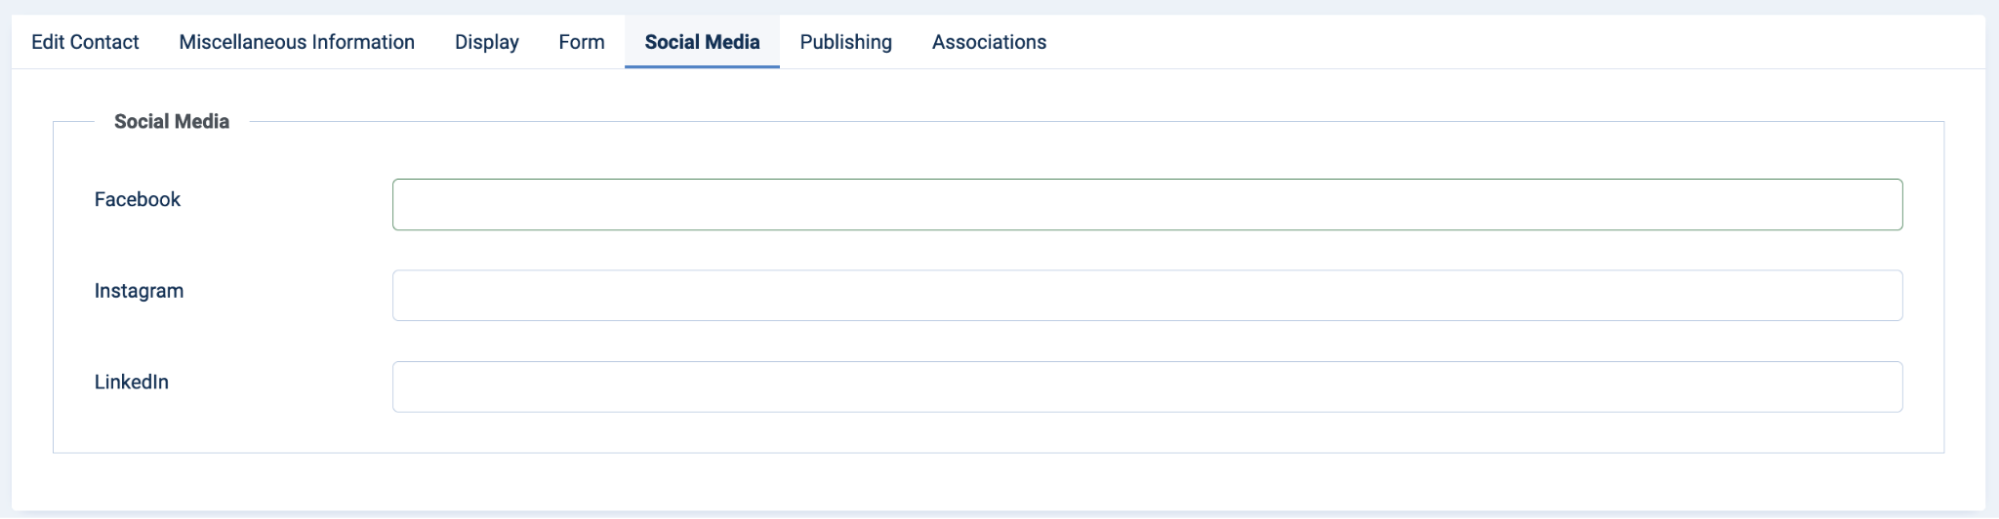
I will create a Field Group for Social Media Channels, and will add some fields for Facebook, Instagram and LinkedIn. In figure 3 you see the edit mode of a single contact. You can see that there is a new tab for the Social Media Field Group.
in Figure 4 you see how the custom fields are rendered in the frontend, it’s like the Custom Fields rendered in the content component, before the main part of the contact information. In the third part I will show how to create an override for the view of the single contact.

Today I gave you a short overview of how to display contact information in the frontend and how to expand a single contact with Custom Fields. In the third and last part of this small series I will show you how to create layout overrides to display your contact information in a way you want to.
Comments