
Submitting your article(s) to the Joomla Community Magazine

In our previous article about writing for the Joomla Community Magazine we explained how you can create an account on the JCM, the two ways you can write (submit directly or share a Google doc first) and, very briefly, how to submit your article. In this article we show you how to do that step by step.
Submit a new article
Once you have created your account on the JCM website and you have author permissions, you can submit your article. For that you need to be logged in. After logging in, on the homepage, in the right sidebar, you see a small menu, like this one:
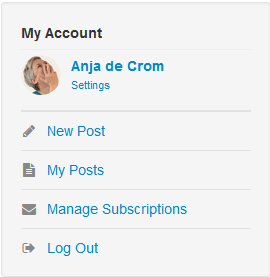
Click New Post.
Adding the text

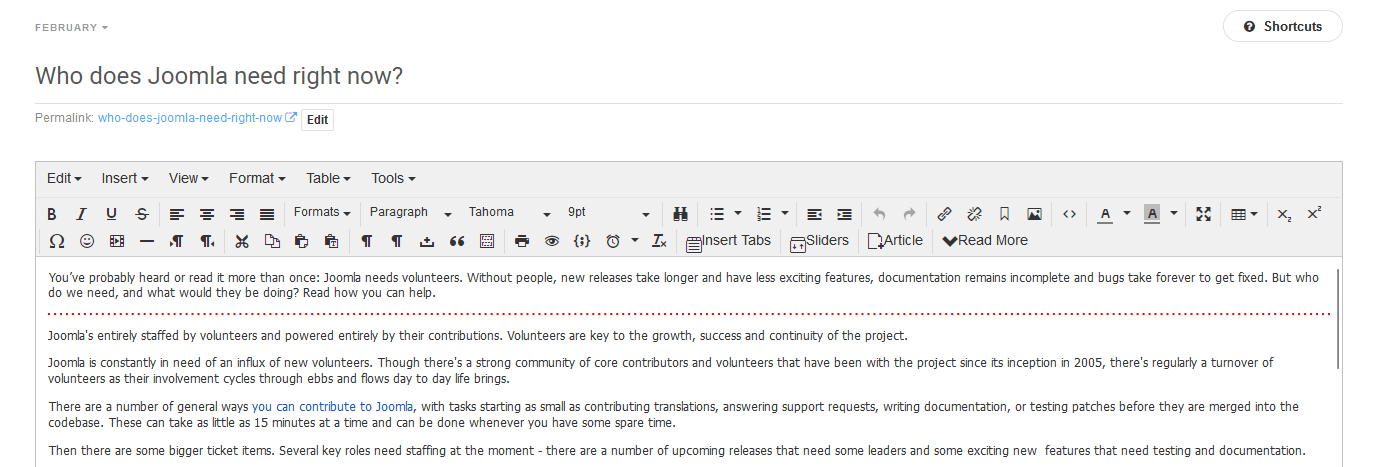
The Easyblog editor opens. This editor screen looks pretty much like any other editor, with a few differences.
Type or paste the title of your article in the field that has the placeholder “Enter a blog title” (1).
Please note: if you add special characters or symbols into your title (like hyphens, commas, exclamation marks or question marks), ensure that you remove them in the permalink field which is automatically populated with the same content as the title just “normalized” in case.
Type or paste your text in the large text area (2).
Cleaning the formatting
If you copy or import the content from Google Docs or Microsoft Word, you will most likely get additional formatting in your text, such as spans (Google, for instance, adds “span style = “font-weight:400;”). You can clean this up by selecting the whole text after pasting it in, and clicking Format -> Clear formatting.
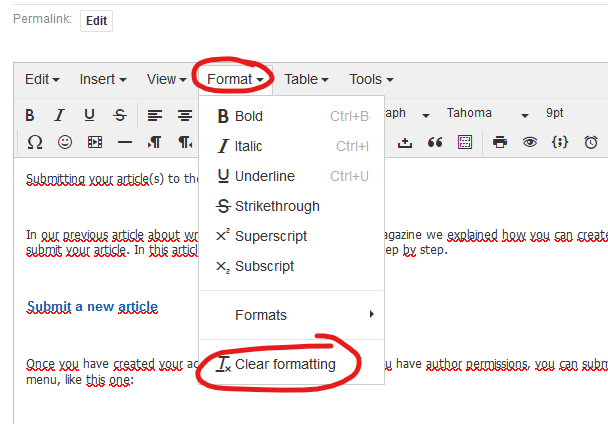
Note: this doesn’t remove headings, paragraphs and breaks, but it does remove bold and italic, so you may need to re-apply your styling.
Using default website style ensures that the look and feel of your article is consistent with the other articles and the website itself and will allow readers to have a great user experience while reading your article on different devices.
Adding images
You may have noticed that all articles in the Joomla Community Magazine get a cover image. As an author, you don’t have to do anything for that, we’ll create that for you (isn’t that wonderful?). Unless you interview someone: in that case we need a pic of your interviewee so we can create the cover image from that. Therefore, in case of interviews (like “Meet a Joomler”), you should ask your interviewee to provide a great image of them in a suitable format (minimum 500 x 500px, doesn’t have to be square, but those are the minimum sizes), so that our Creative Team would be able to compose a stunning cover image for your article.
Do you have screenshots or other images you want to show in your article? Click Media in the top toolbar.

This will lead you to EasyBlog’s media manager where you can upload your images. After uploading, you can select the image you want to use and insert it where you want it. All images get centered by default.

Bonus tip #1: do you have a lot of images in your article? Upload them all at once!
Bonus tip #2: did you start with a Google doc and have you pasted your screenshots or other images in this doc? In your Google doc, go to File -> download -> web page and you’ll get a pretty neat folder with all the images in it.
And we probably don’t have to tell you this, but still: only use images that are free to use or screenshots you took yourself. Make sure to respect other people’s privacy and copyright while working with images.
Saving your article
So. You’ve done the hardest part! But are you done? Well, that depends: maybe you’re not sure if your wording is right, maybe you want to replace one or two images, maybe you had to cook dinner all of a sudden and couldn’t finish everything before that… Whatever the case, if you’re not entirely finished with the article, you can click the gray Save draft button in the right hand corner. That means you can still work on it.

Are you happy with the article? Then it’s time for the final step: submit it for approval. For that, you click Submit for approval, the green button in the top right corner. After that, there’s no way back ?. One of the JCM editors will look at it. If it gets approved, you get a notification. If we have questions or want to discuss anything with you, we’ll contact you. Once your article is approved, it gets scheduled for publication. You get a notification for that as well.
Make changes to a published article
Ah, and then the comments come, and they’re good and useful, so you may want to change things in your published content. The good news is: you can.

In the right sidebar menu on the homepage of the JCM, there’s an option called My posts.
If you click that, you’ll see a list of the published articles you’ve submitted.

Click the title to edit an article.
The editor opens and you can edit all you like.
When you’re done editing, your article has to be re-submitted for approval.
For that, you just click the green button in the right hand corner, just like you did when you submitted it for the first time. Your changes will not be visible immediately; the editors get a notification and once it’s approved again, the new version of your article will replace the previous one.
This article covers submitting articles to the Joomla Community Magazine. For this to happen, you need an account on this website, with author rights. Read all about that here: https://magazine.joomla.org/all-issues/january-2023/how-to-write-for-the-joomla-community-magazine
Some articles published on the Joomla Community Magazine represent the personal opinion or experience of the Author on the specific topic and might not be aligned to the official position of the Joomla Project
About the author
By accepting you will be accessing a service provided by a third-party external to https://magazine.joomla.org/
Comments