
Whenever Joomla gets picked as a Google Summer of Code (GSoC) candidate there is a flurry of activity around several projects. In 2022 one of the projects put forward was Guided Tours. This is a project that has been tackled by several students over several years and each one has nudged closer to the finishing line, but never quite got there. That's why it's especially gratifying to see Guided Tours as the main feature of the Joomla 4.3 release. It's the culmination of a lot of teamwork and a great example of what can be achieved if you just keep at it.
The third and final GSoC student to work on Guided Tours
Khushi Rauniyar was the student to pick up that baton and run with the project. Khushi was one of several in the 2022 GSoC intake and she worked with a few mentors to help expand on the work that went before, rewriting and hitting the hard issues that had eluded the students who had come before.
The development continued all last summer and towards the end of the summer, Khushi came to Joomla London and demonstrated the feature to all the developers there. There was a lot of praise as well as some good constructive feedback on how it could be improved, and a list of features developers would like to see.
Hear it from the student herself
I am Khushi Rauniyar, a 2022 graduate and Software Development Engineer at Amazon.
I came across the Joomla organisation after hearing about it from previous GSoC students in 2021.
I really liked the idea of contributing to a live project. Solving an issue and writing code which can be used by millions of users excited me. So I started contributing to the organisation, fixing bugs, and testing pull requests. Then, in 2022, I learned that year's GSoC projects through an online seminar and I decided to participate in it with Joomla!
I took on board the Guided Tour project. I was the third person working on it. Shivam Rajput had started the whole guided tours off and then the year before me Jatin Salve worked on the project.
I started to work on the critical issues and refactored the code. I solved the relative URL problem and improved the logic by rewriting it with the help of my mentors (Benjamin Trenkle, Philip Walton, Patrick Jackson, Jatin Salve, Yatharth Vyas, Eyvaz Ahmadzada, Freyam Mehta).
Later, at the near end of the second phase of GSoC, I received some feedback to help create the tours in an interactive way so that a person new to Joomla can create the essence of the tour while simultaneously running the tour. This made it much more user-friendly and helpful. With the help of my mentors, we decided to extend the GSoC period and I started working on the interactive-tour feature. I got continuous feedback and made several improvements and fixes to improve the Guided Tours.
Finally, Olivier Buisard, one of the release managers of Joomla 4.3, joined the team and helped in finishing the Guided Tour feature and was joined by Aaron Del Bosque who jumped in to give us a hand.
And as with every project, there is also oversight from Richard Fath who advises, rewrites and improves all the database queries. They are often then submitted by others, his silent but vital contribution should not be overlooked.
How to run a tour
So what is a guided tour and how will it help Joomla?
Guided tours are simply run-throughs that highlight different areas of a page and allow you to understand what features, buttons, links and various functional page elements do.
It is so much easier to understand than help pages, as they identify each point of interest there on the page as you work through the website. It's like a very patient and knowledgeable friend pointing out the areas and being your very own personal assistant.
The landing page
It would be so much easier to explain if this article was a guided tour, but it is not so we shall revert to good old-fashioned images and text to explain the ins and outs of guided tours.
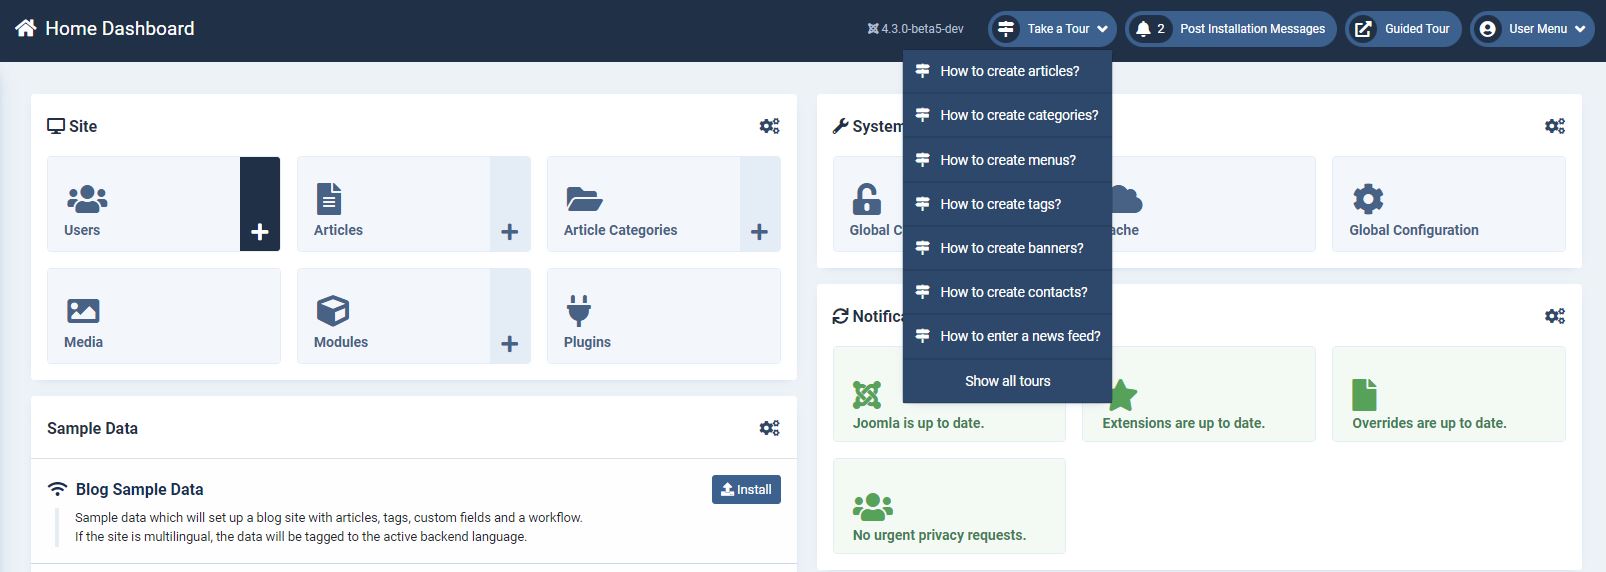
Below is the landing page. You will see this on the Home Dashboard, once you click ‘Take a tour’ at the top right of the page. This gives you all the highlighted Guided Tours available.
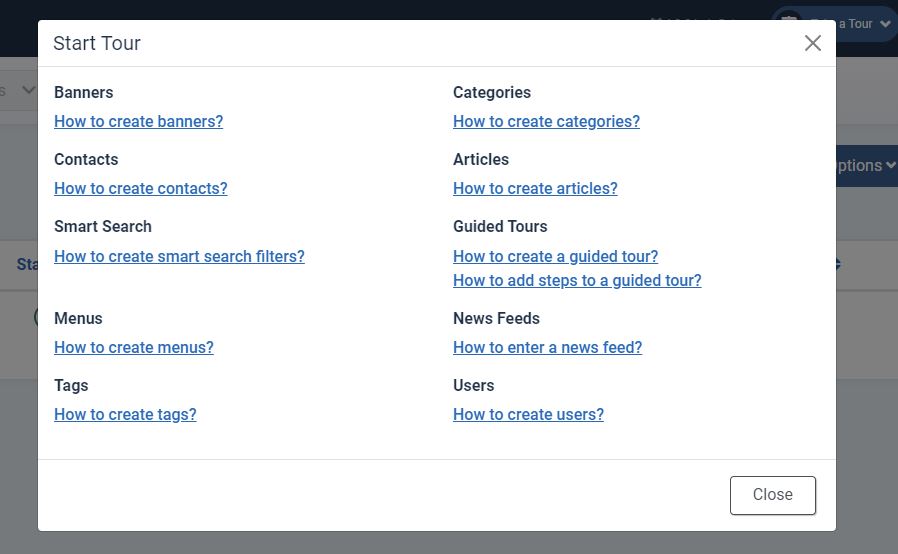
For a comprehensive display of all tours, you can click ‘see all tours’ at the bottom of that dropdown, and your page will show like this (see image below). You have access to all the tours available here.
How to create Articles Tour
One of the first tours to try out is the articles tour.
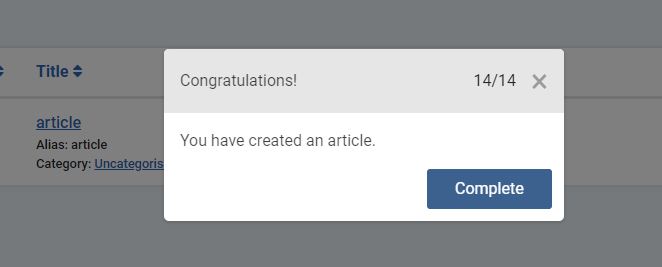
It is a 14-step guide to all the areas of the articles window that you can access, change and fill in.
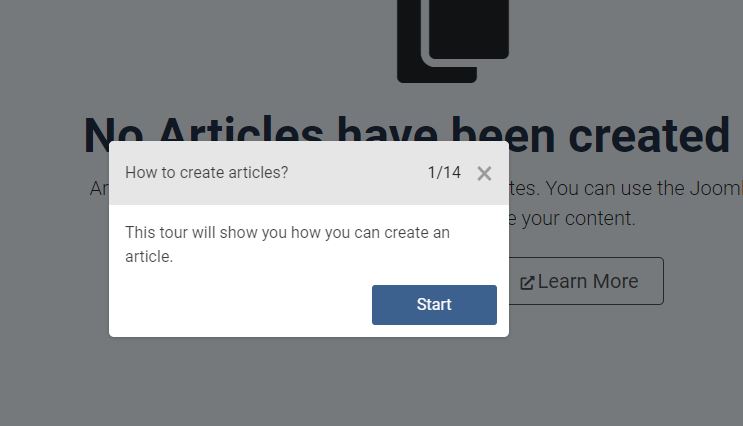
The purpose of this tour is to teach you, step by step, how to create an article.
We will not go through all the screenshots but once you have completed the tour you will have your first article and a congratulatory message.
It is a really easy and informative way to find out how to do something.
Creating Categories with Guided Tours

Categories are usually used in Joomla for list/blog layouts, or for organising articles based on a specific category.
This tour shows you how to create a category.
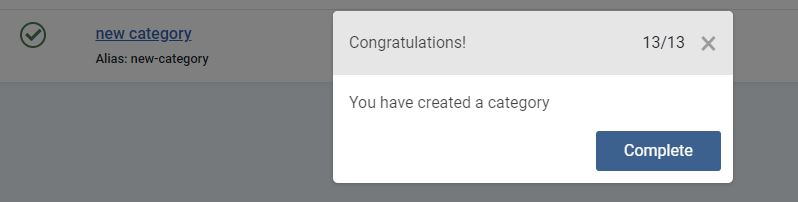
After following all 13 steps, you will see this message, and your new category is ready to be used.
Creating Menus
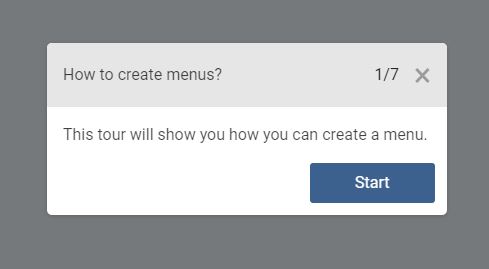
If you select the ‘how to create menus tour’, you will see this message. Follow the 7 steps to create your new menu. Again it is a detailed walk-through that finishes after 7 steps with the desired menu set up and working.
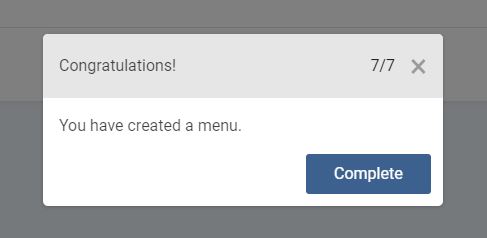
You have created your new menu. So in a total of 31 steps we have built a category, can add an article to that category and then assign it to a menu.
Creating a User

This tour shows you how to create a user in just 12 steps.
To create a user, you will need to fill in:
- Name
- Login Name
- Password
- Email address
You can also select if the user should receive system emails, and you can enable/block this user.
There is also access to ‘require password reset’; If set to yes, the user will have to reset their password the next time they log in to the site.
How to create Tags
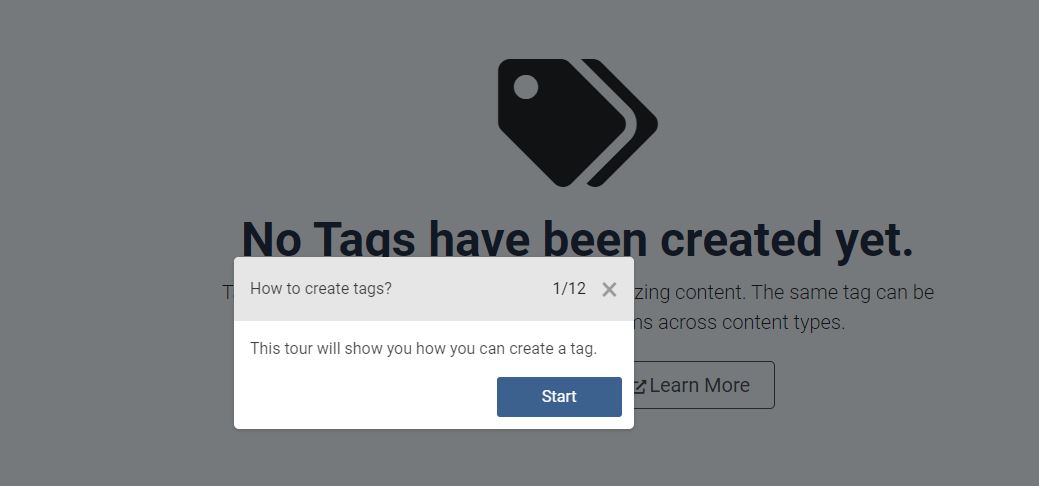
Tags are sometimes used in websites as they provide a flexible way of organising content, there is no limit to how many tags you can have on an item.
Follow the 12 steps to create your first tag.
So there you have it: a really simple way to allow your customers to understand how to do the most basic steps in Joomla.
And that's just the start!
With Guided Tours you can customise these steps, branding them and if you are an administrator you can create your own guided tours.
In true recursive tradition, there is a guided tour to create Guided Tours!
Creating a Guided Tour (for Administrators)
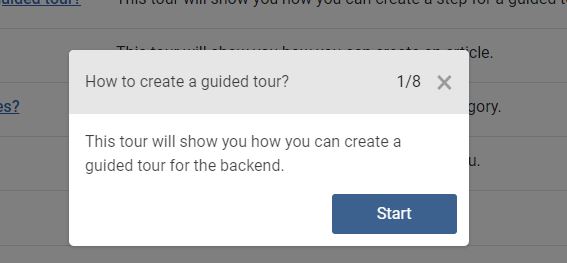
As an administrator, you can create a guided tour for the backend of your Joomla site in 8 steps.
You will want to create a ‘new’ tour, fill out your desired title, and the relative URL where the tour must begin. You will also want to enter ‘content’ describing this tour, as well as select a component so that the tour will show when you go to that component. This makes the tours context-aware, so you only show the relevant tours. The title and description of the tour will be the first step of the guided tour you are creating.
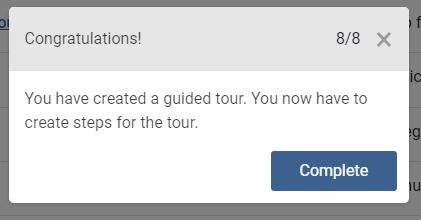
You will see this message, which lets you know that the next thing to do is to create steps for the tour.
Simply choose the title you set for the tour in the dropdown on the dashboard.
Creating steps for the tour
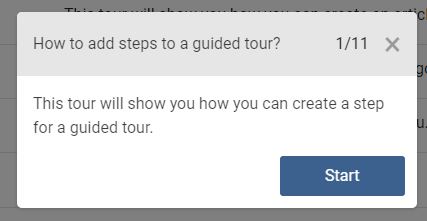
You have just followed the steps to ‘create a tour’ but now you need to ‘add steps for a guided tour’.
You would need to select the listed numbers, which represent the order of each step, click new, give it a title and add the description. Do make sure it is published and then select the position, centred is used when there is not a specific target.
Entering the target element targets a specific part of the page.
In the instructions, it gives an example.
This is the element on the page, this step targets. It uses the syntax used by CSS to target an element.
For instance, #jform_title will target the element with id 'jform_title'
Selecting the type determines if there will be a redirect, or if the type of step is interactive.
If it is interactive then you have the choice of
- Form submit
- Text field
- Button
- Other
Once that's all filled in you get the congratulations
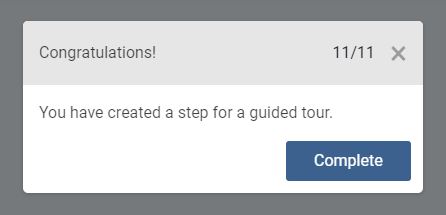
And you will have added your first step in your guided tour. Just repeat and you will soon have a working guided tour to help you guide your staff or clients through the administrator section of your site.
Think of the phone calls and repetitive emails this will put an end to. And what a fabulous way to white-label your sites with your own brand or customise the messages for clients.
Wait I hear you say, what If I am a developer and want to add a guided tour to my product so that when it's installed I could give a guided tour to any potential clients? Is that possible?
Yes, there has already been a lot of work under the hood to make guided tours possible to set up for third-party components.
But that, as they say, is another story for another time.
Do test the release candidate of Joomla 4.3 which will be out on Tuesday 21st March, it's your chance to fix bugs, report any in the Joomla issue tracker and help make Joomla 4.3 the best release yet!

Comments